Linux Boot Recovery – How to Restore GRUB and Bootloaders
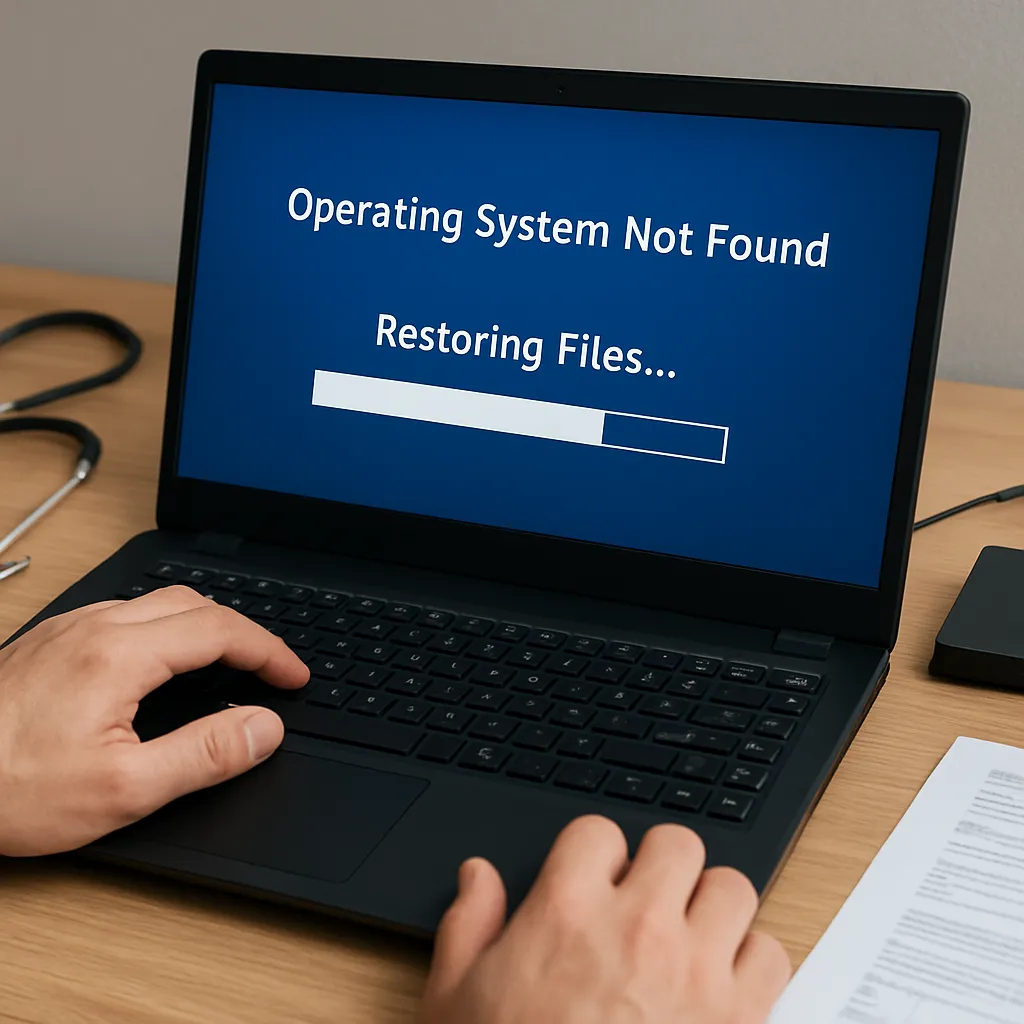
When a Linux system fails to boot, it can be a daunting experience, especially for those who rely on their systems for critical tasks. One of the most common culprits behind such failures is a corrupted or misconfigured bootloader. This article delves into the intricacies of Linux boot recovery, focusing on how to restore GRUB and other bootloaders to get your system back up and running.
Understanding the Boot Process
Before diving into the recovery process, it’s essential to understand how the Linux boot process works. The boot process is a sequence of steps that the system undergoes to load the operating system. It involves several stages, each critical to ensuring a successful boot.
BIOS/UEFI Initialization
The boot process begins with the BIOS (Basic Input/Output System) or UEFI (Unified Extensible Firmware Interface) firmware. This firmware initializes the hardware components and performs a Power-On Self Test (POST) to ensure everything is functioning correctly. Once the initial checks are complete, the firmware looks for a bootable device, such as a hard drive, SSD, or USB stick.
Bootloader Execution
After identifying a bootable device, the firmware hands over control to the bootloader. The bootloader is a small program responsible for loading the operating system kernel into memory. In most Linux systems, the default bootloader is GRUB (GRand Unified Bootloader). GRUB provides a menu interface that allows users to select which operating system or kernel version to boot.
Kernel Loading and Initialization
Once the bootloader has loaded the kernel into memory, the kernel takes over and initializes the system. This involves setting up memory management, initializing hardware drivers, and starting essential system services. Finally, the kernel mounts the root filesystem and hands control over to the init system, which completes the boot process by starting user-space services and applications.
Common Bootloader Issues
Several issues can prevent a bootloader from functioning correctly, leading to a failed boot. Understanding these issues is crucial for effective recovery.
Corrupted Bootloader Configuration
One of the most common issues is a corrupted bootloader configuration file. This can happen due to improper shutdowns, failed updates, or manual misconfigurations. When the configuration file is corrupted, the bootloader may fail to present the boot menu or load the correct kernel.
Missing or Damaged Bootloader Files
Another common issue is missing or damaged bootloader files. This can occur due to disk errors, accidental deletions, or malware infections. Without the necessary bootloader files, the system cannot proceed with the boot process.
Incorrect Boot Device Order
Sometimes, the boot device order in the BIOS/UEFI settings may be incorrect, causing the system to attempt to boot from a non-bootable device. This can happen after hardware changes or firmware updates.
Restoring GRUB Bootloader
Restoring the GRUB bootloader involves several steps, depending on the nature of the issue. Below are detailed instructions for common recovery scenarios.
Using a Live CD/USB
One of the most effective methods for restoring GRUB is using a Live CD or USB. This allows you to boot into a live Linux environment and perform the necessary recovery steps.
- Step 1: Boot from the Live CD/USB. Insert the Live CD/USB into your system and boot from it. You may need to change the boot order in the BIOS/UEFI settings to prioritize the Live CD/USB.
- Step 2: Open a terminal. Once you are in the live environment, open a terminal window.
- Step 3: Identify the root partition. Use the
lsblkorfdisk -lcommand to identify the root partition of your installed Linux system. - Step 4: Mount the root partition. Mount the root partition to a temporary directory using the
mountcommand. For example:sudo mount /dev/sdXn /mnt, where/dev/sdXnis your root partition. - Step 5: Mount additional filesystems. Mount the necessary filesystems for the chroot environment:
sudo mount --bind /dev /mnt/dev,sudo mount --bind /proc /mnt/proc, andsudo mount --bind /sys /mnt/sys. - Step 6: Chroot into the mounted filesystem. Use the
chrootcommand to change the root directory to the mounted filesystem:sudo chroot /mnt. - Step 7: Reinstall GRUB. Run the
grub-installcommand to reinstall GRUB on the appropriate device. For example:grub-install /dev/sda. - Step 8: Update GRUB configuration. Generate a new GRUB configuration file using the
update-grubcommand. - Step 9: Exit the chroot environment and unmount filesystems. Use the
exitcommand to exit the chroot environment, then unmount the filesystems:sudo umount /mnt/dev,sudo umount /mnt/proc,sudo umount /mnt/sys, andsudo umount /mnt. - Step 10: Reboot the system. Remove the Live CD/USB and reboot your system. GRUB should now be restored, and your system should boot correctly.
Using GRUB Rescue Mode
If you cannot access a Live CD/USB, you can use GRUB’s built-in rescue mode to restore the bootloader. GRUB rescue mode provides a minimal environment for troubleshooting and recovery.
- Step 1: Enter GRUB rescue mode. If GRUB fails to load, it will automatically enter rescue mode, displaying a
grub rescue>prompt. - Step 2: Identify the root partition. Use the
lscommand to list available partitions and identify the root partition. For example:ls (hd0,msdos1). - Step 3: Set the root and prefix. Set the root and prefix variables to point to the correct partition and GRUB directory. For example:
set root=(hd0,msdos1)andset prefix=(hd0,msdos1)/boot/grub. - Step 4: Load the normal module. Load the normal module to access the standard GRUB menu:
insmod normal. - Step 5: Enter normal mode. Switch to normal mode by running the
normalcommand. - Step 6: Boot into the system. Once in normal mode, you should see the GRUB menu. Select the appropriate entry to boot into your Linux system.
- Step 7: Reinstall GRUB. Once you have booted into your system, follow the steps outlined in the “Using a Live CD/USB” section to reinstall GRUB and update the configuration.
Preventive Measures
While knowing how to recover a bootloader is essential, taking preventive measures can help avoid such issues in the first place.
Regular Backups
Regularly backing up your system, including the bootloader configuration, can save you a lot of trouble in case of a failure. Use tools like rsync or tar to create backups of critical files and store them in a safe location.
System Updates
Keeping your system and bootloader up to date can prevent many issues. Regularly check for updates and apply them to ensure you have the latest security patches and bug fixes.
Disk Health Monitoring
Monitor the health of your disks using tools like smartctl to detect and address potential issues before they lead to data loss or boot failures.
Conclusion
Recovering a Linux bootloader, such as GRUB, can be a complex process, but understanding the boot process and common issues can make it more manageable. By following the steps outlined in this article, you can restore your bootloader and get your system back up and running. Additionally, taking preventive measures can help avoid bootloader issues in the future, ensuring a more stable and reliable system.