Recovering data from a physically or logically damaged SSD can be a daunting task, but with the right approach and tools, you can maximize your chances of retrieving valuable files. This guide covers the fundamental concepts, recommended software tools, and step-by-step procedures to help you regain access to lost or corrupted data. Whether you are an IT professional or a tech-savvy home user, understanding the process will empower you to respond effectively when an SSD failure threatens your digital assets.
Understanding SSD Failures and Preparing for Recovery
Common Causes of SSD Damage
Solid State Drives combine complex memory cells, firmware controllers, and integrated circuits. Failures can occur due to:
- Wear leveling exhaustion or memory cell degradation
- Firmware corruption or bad firmware updates
- Electronic component failure, such as damaged controller chips
- Power surges, overheating, or improper shutdowns
- Firmware bugs leading to unreadable file tables
Being aware of these causes helps you diagnose whether the issue stems from a logical fault (filesystem corruption) or a physical failure.
Precautionary Steps Before Recovery
Before launching any recovery attempts, perform these vital precautions:
- Backup any remaining accessible data immediately to avoid further loss
- Power down and disconnect the SSD to prevent additional damage
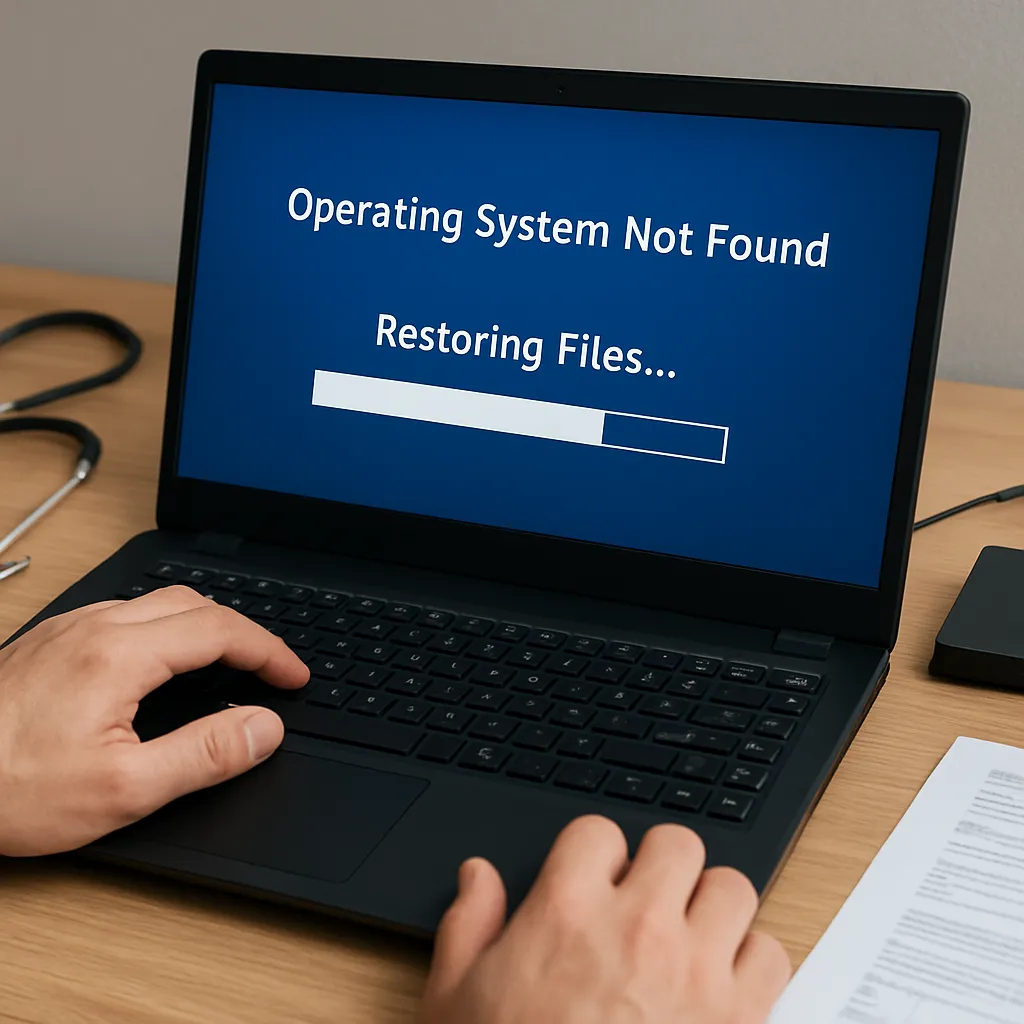
- Avoid writing new data or installing the operating system on the affected drive
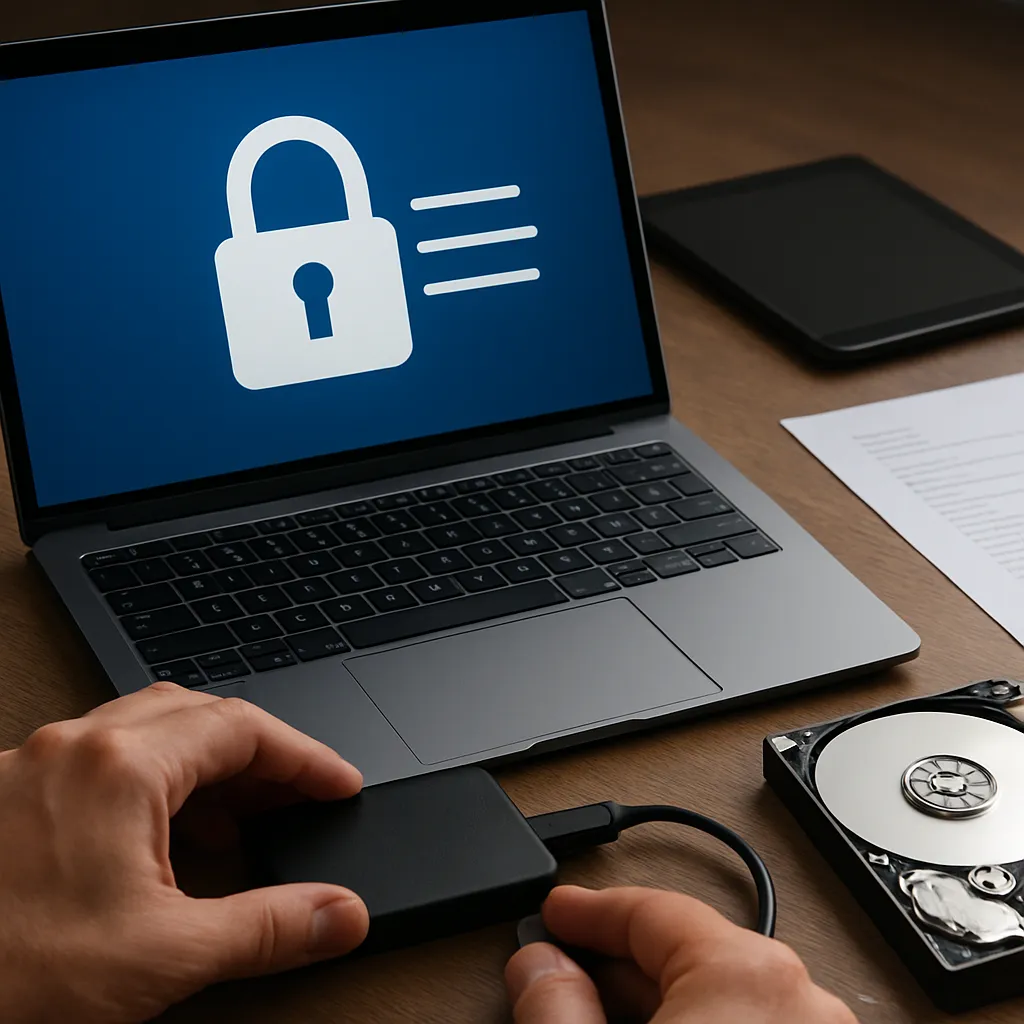
- Use a write-blocker or read-only adapter to ensure data integrity
- Document the current state, error messages, and SMART diagnostics
These measures safeguard the drive’s current state and ensure you are not inadvertently overwriting recoverable sectors.
Choosing the Right Recovery Software
Key Features to Look For
Effective SSD recovery software should include:
- Support for SSD-specific controller architectures and TRIM handling
- Deep sector-level scanning with customizable scan algorithms
- Capability to handle corrupted or partially missing file system structures
- Cloning and disk image creation to preserve the original data
- Preview functionality to verify file thumbnails and metadata
- Error correction and file integrity tools (CRC checks, checksums)
Popular Tools and Their Capabilities
Several utilities cater to SSD recovery, each with unique strengths:
- Tool A: Offers advanced cloning and sector-by-sector imaging
- Tool B: Specialized in recovering files from TRIM-enabled devices
- Tool C: Provides robust file signature analysis for deeply corrupted drives
- Tool D: Combines GUI simplicity with command-line scripting options
- Tool E: Integrates SMART monitoring and firmware diagnostics
Choosing the right tool depends on the drive’s condition and your technical expertise. Trial versions often allow you to gauge effectiveness before purchasing a license.
Step-by-Step Recovery Process
Creating a Disk Image
Working directly on a compromised SSD can worsen its state. Instead, create a disk image:
- Connect the SSD via a reliable USB or SATA adapter
- Launch the imaging feature in your recovery software
- Select “bit-by-bit” or “sector-by-sector” mode to capture all data
- Write the image to a healthy storage medium with sufficient capacity
- Verify the integrity of the image using hash comparisons (MD5, SHA-1)
Once the image is complete, all recovery operations should target the image file, preserving the original drive.
Running the Recovery Scan
After acquiring an image, initiate the scan:
- Choose the recovery mode: Quick scan for recently deleted files or Deep scan for severe corruption
- Configure filters by file type (documents, photos, videos) to streamline results
- Monitor the scan progress and note error sectors or unreadable clusters
- Pause or stop if the tool detects stable patterns of read failures, allowing a second attempt
Deep scans may take hours or days, depending on drive capacity and health. Patience is key to thorough analysis.
File Validation and Extraction
Once the scan completes, recoverable files will be listed:
- Use the preview pane to inspect thumbnails and file headers
- Select files or folders to restore based on size, date, and path
- Export recovered data to a separate healthy drive
- Run file integrity checks and open recovered documents to confirm usability
Organize restored files logically, and consider running additional antivirus and malware scans before integrating them back into your workflow.
Advanced Techniques and Troubleshooting
Dealing with Firmware Corruption
Firmware issues on SSDs can render data inaccessible, but recovery is not impossible:
- Check manufacturer websites for official firmware update utilities
- Use low-level command-line tools to reflash or roll back firmware versions
- Consult specialized forums or data recovery centers for drive-specific procedures
- Employ hardware programmers to interface directly with the controller chip
This level of intervention often requires technical expertise and may void warranties, so proceed with caution.
Using Hardware-Based Methods
In cases where software fails, hardware solutions may succeed:
- Controller board swaps: Replace a damaged board with an identical donor part
- Chip-off recovery: Desolder memory chips and read them with NAND programmers
- JEDEC or proprietary connector adapters to interface directly with flash modules
- Professional data recovery labs equipped with cleanrooms and advanced diagnostics
Hardware recovery can retrieve data when logical methods are exhausted, but it is more expensive and time-consuming.
Maintaining Data Integrity Post-Recovery
After successful recovery, implement robust strategies to protect against future loss:
- Establish a 3-2-1 backup strategy: three copies, two media types, one offsite
- Regularly monitor SSD health via SMART and temperature logs
- Schedule periodic cloning to a secondary drive for instant failover
- Keep firmware updated while following manufacturer guidelines
- Segment critical data onto RAID arrays or redundant storage platforms
Continuous vigilance ensures that the lessons learned from one failure prevent another.