Losing vital photographs, documents, or important project files from a broken tablet can be a distressing experience. Fortunately, a variety of robust recovery methods and specialized software tools exist to help you retrieve valuable data. This article will guide you through the causes of tablet failure, preparatory steps, recommended solutions, and advanced techniques to maximize the chances of successful file retrieval from a damaged device.
Understanding Common Causes of Tablet Failure
Before diving into recovery solutions, it’s essential to identify what may have caused your tablet to fail. Pinpointing the root problem can streamline your approach and improve the odds of retrieving your data intact.
- Hardware Damage: Physical impact, liquid spills, or internal component failure.
- System Crashes: Corrupted operating system, incomplete updates, or firmware glitches.
- Battery or Power Issues: Overheating, battery swelling, or faulty charging circuitry preventing startup.
- Software Corruption: File system errors, malware infections, or accidental formatting.
- Connectivity Problems: Damaged USB ports or broken pins preventing data transfer.
Preliminary Steps Before Attempting Recovery
Preparation is critical. Rushing into recovery attempts without proper precautions can exacerbate damage. Follow these preparatory measures to create a stable environment for data extraction.
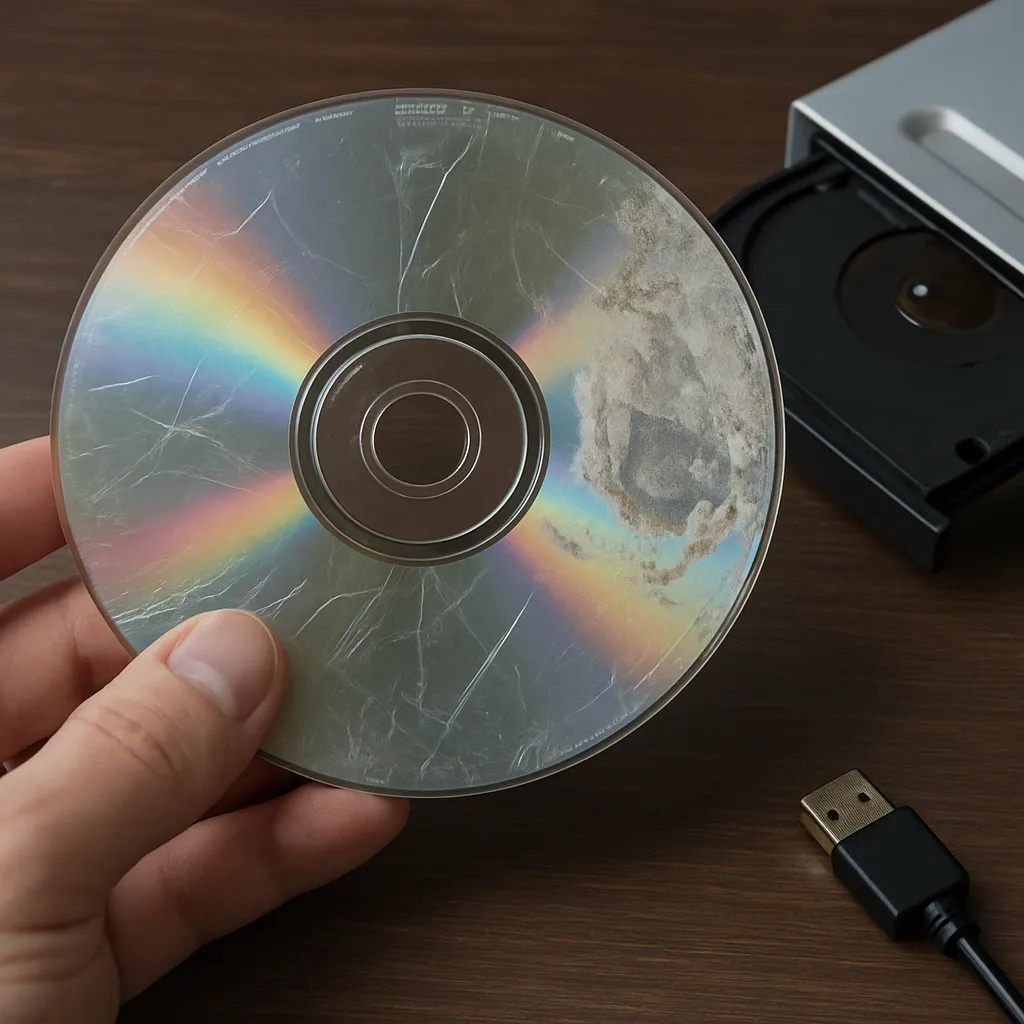
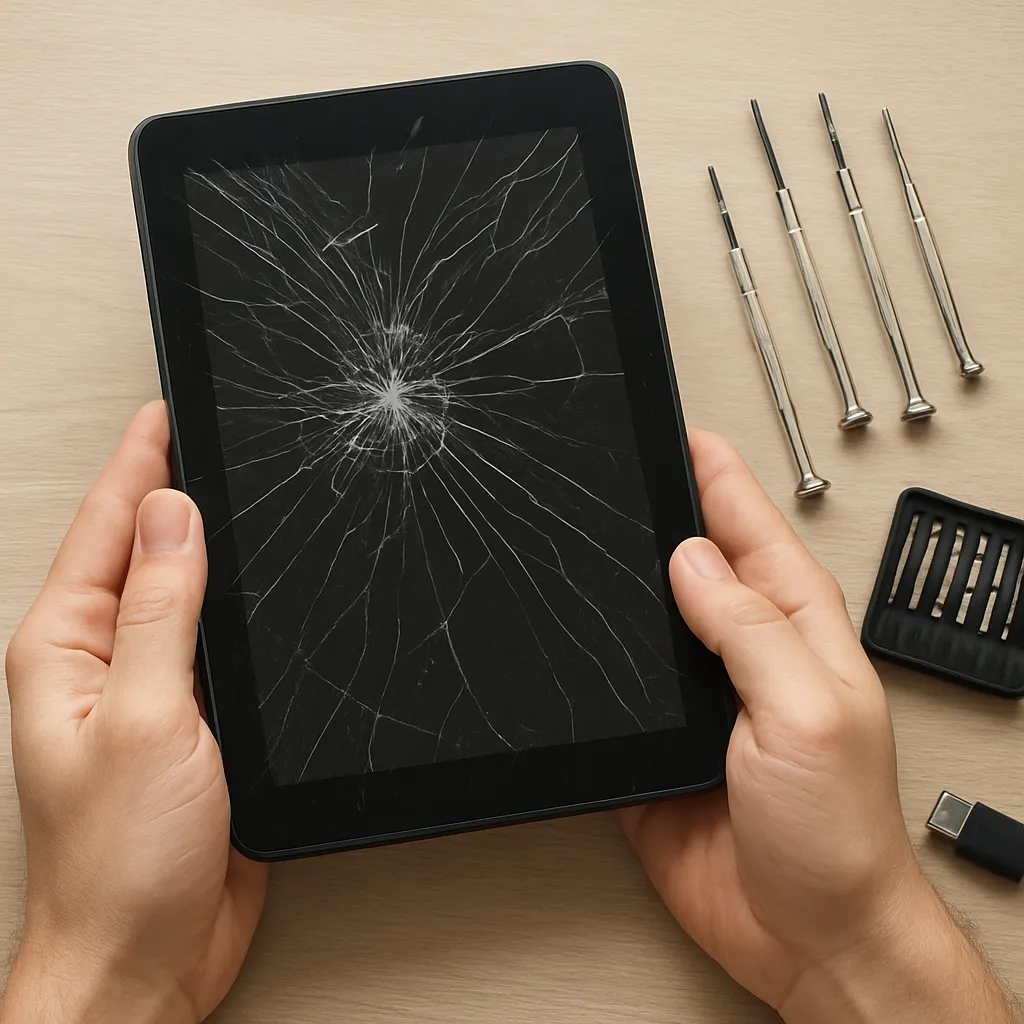
1. Assess the Extent of Physical Damage
- Examine the screen, housing, and ports for visible cracks or corrosion.
- Check battery health – swelling or leaks indicate permanent damage that requires cautious handling.
- Gently clean ports with compressed air or a soft brush to remove debris.
2. Secure Power Supply
- Use the original charger and cable if possible, ensuring a stable USB connection.
- Consider a powered USB hub to regulate voltage and prevent further harm.
- If the tablet refuses to charge, remove the battery (if removable) and connect via a dedicated power bench tool.
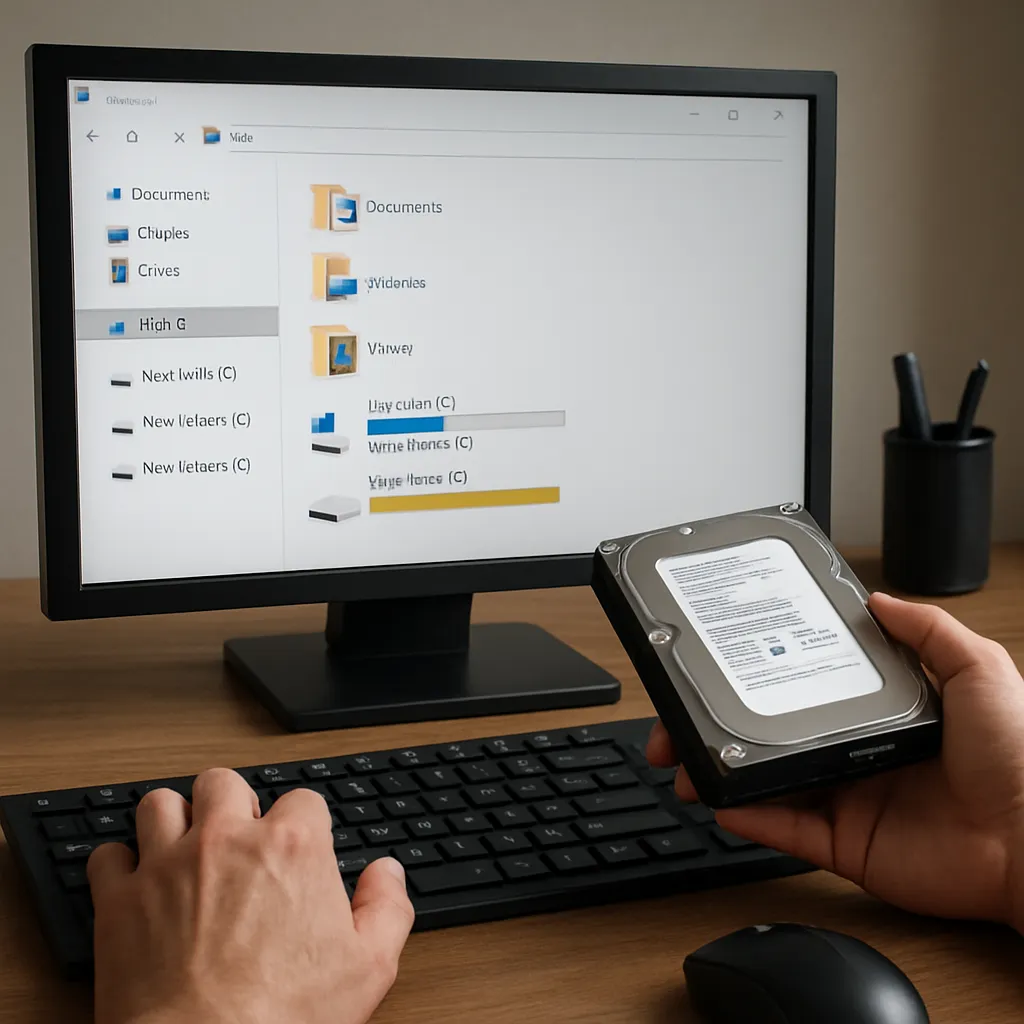
3. Create a Disk Image (If Accessible)
- Employ tools like ddrescue or similar to clone the storage device bit by bit.
- Work on the clone rather than the original, preserving it in case further attempts are needed.
- Store the image on a separate drive with ample free space to avoid fragmentation.
Selecting the Right Recovery Software
Choosing an effective and reliable software solution can mean the difference between success and permanent data loss. Consider the following criteria when evaluating recovery tools:
- Compatibility: Ensure the program supports your tablet’s operating system and file types.
- Scanning Modes: Shallow vs. deep scans for different levels of corruption.
- User Interface: Intuitive design to guide you through complex recovery tasks.
- Preview Functionality: Ability to preview recoverable items, reducing time spent on extraneous files.
- Support for Encrypted Volumes: Crucial if your tablet employs encryption natively.
- Update Frequency: Active development ensures compatibility with new firmware revisions.
Popular options include:
- EaseUS MobiSaver for Android and iOS tablets
- Dr.Fone by Wondershare
- Disk Drill Pro
- Recuva Professional
Step-by-Step Guide to Recovering Files
Follow these detailed instructions to retrieve your data methodically:
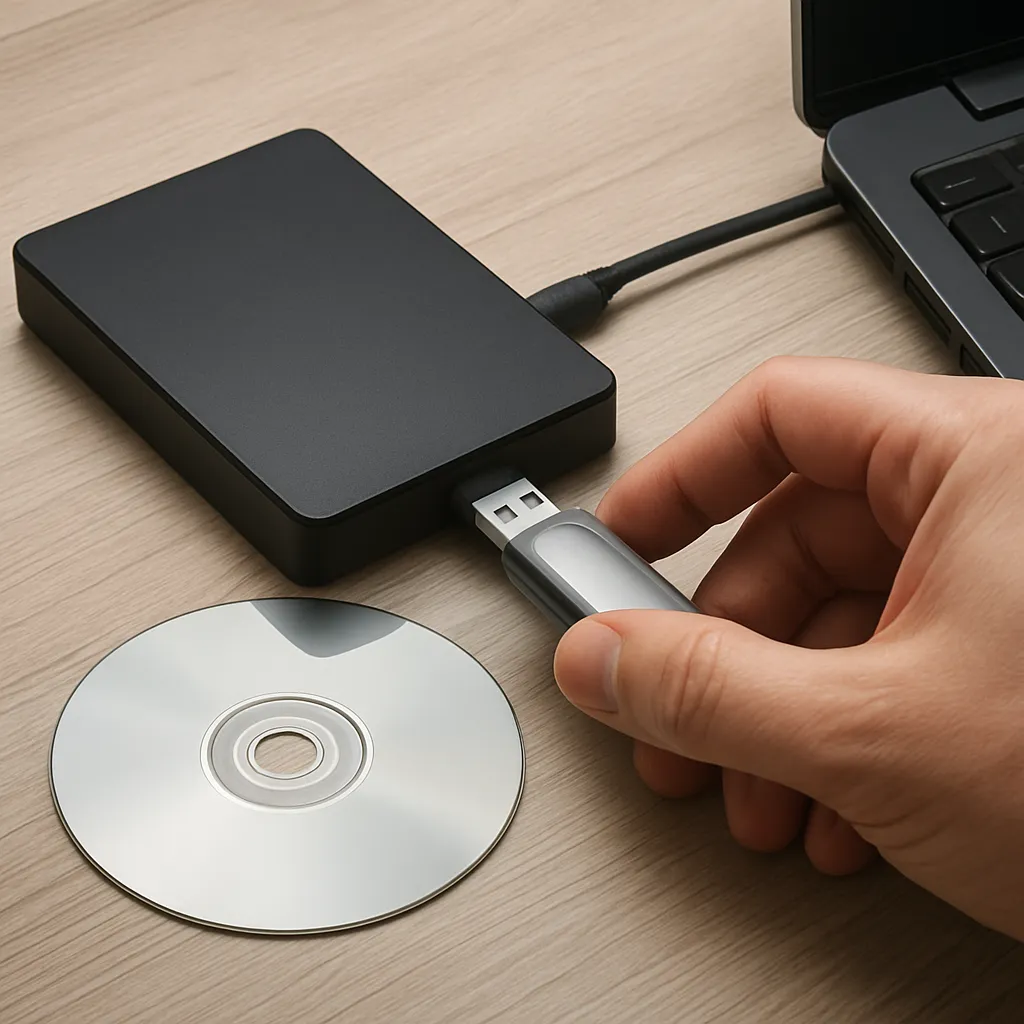
Step 1: Establish a Stable Connection
- Power off the tablet and connect it to a reliable computer via a known-good USB cable.
- If the OS boots intermittently, set it to mass storage or MTP mode to expose the storage partition.
Step 2: Launch the Recovery Tool
- Install and run your chosen application with administrator privileges.
- Select the affected tablet drive or image file as the source.
- Opt for a deep scan to uncover hidden or severely corrupted files.
Step 3: File Preview and Selection
- Allow the software to generate a file list organized by type and folder structure.
- Use the preview function to verify file integrity before recovery.
- Mark only necessary items to minimize recovery duration and storage requirements.
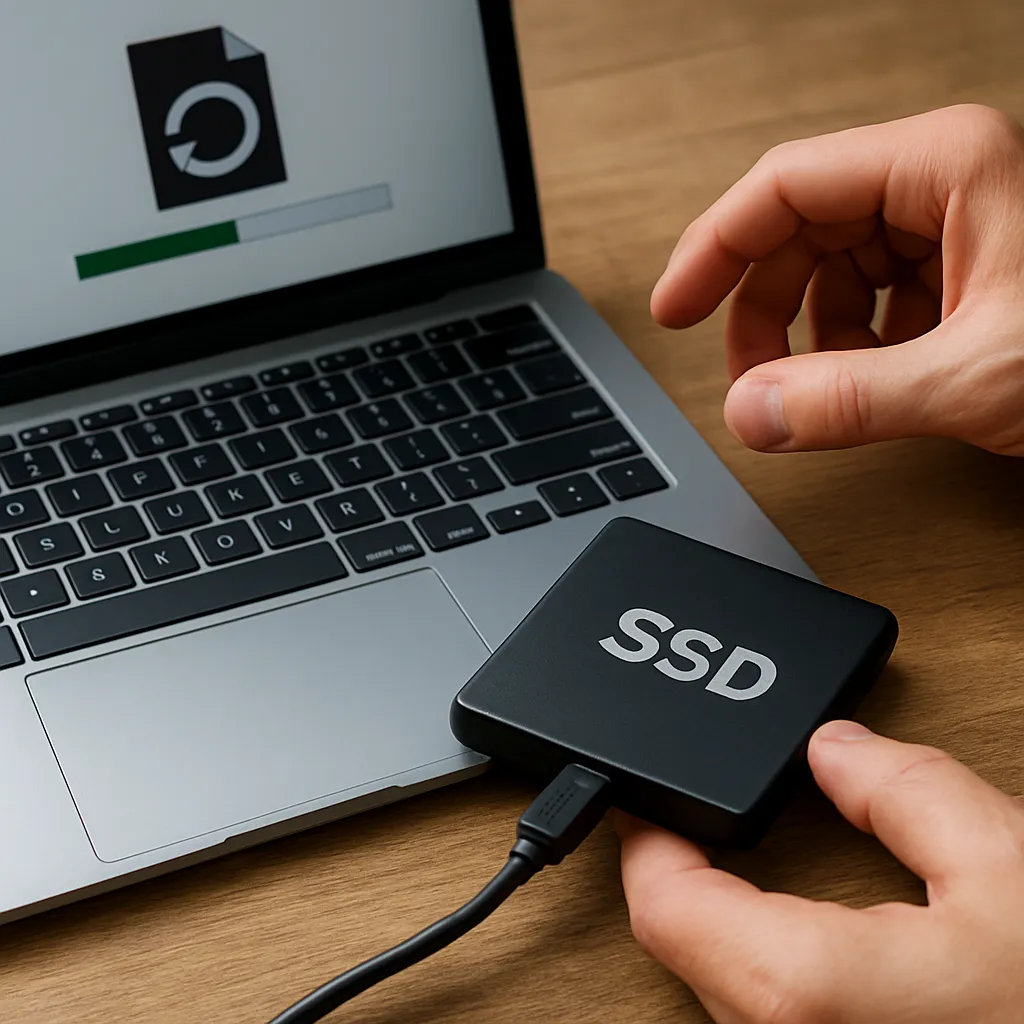
Step 4: Execute Recovery to a Separate Drive
- Select a destination on a different physical disk to prevent overwriting.
- Monitor the process for errors; most applications log bad sectors or unreadable blocks.
Advanced Techniques for Stubborn Cases
When standard recovery fails, consider these specialized tactics:
Direct NAND Extraction
- Remove the tablet’s NAND chip and interface with a hardware programmer.
- Dump raw memory contents for analysis using forensic-grade tools.
Firmware Repair and Bootloader Intervention
- Reflash the stock firmware without initializing the data partition.
- Use ADB (Android Debug Bridge) to mount or pull partitions directly if USB modes are accessible.
Professional Data Recovery Services
- Employ cleanroom environments to repair physically damaged boards.
- Opt for write-protected duplication to safeguard the original media.
Troubleshooting Common Obstacles
During your recovery journey, you may encounter hurdles requiring targeted solutions:
- Tablet not recognized: Update drivers, enable USB debugging, or use an OTG adapter.
- Scan hangs or crashes: Allocate more RAM, close background applications, or switch to a command-line tool.
- Encrypted data: Gather unlock credentials, attempt key extraction from system partitions.
- Fragmented recovery: Perform multiple scans with varied parameters to capture elusive fragments.