Dealing with missing iPhones but holding onto precious backups can feel like standing before a locked door. Luckily, the realm of data recovery offers a way in. This guide dives into the art of recovering files directly from an iTunes Backup without having the iPhone at hand. Whether you need to access photos, messages, or contacts, mastering the right software solution puts you back in control of your digital life.
Understanding iTunes Backup Files
An iTunes backup is essentially a snapshot of your device’s content stored on a computer. It captures a wide array of data—from call logs and messages to app data and multimedia. By default, these backups reside in a secure folder path on Windows or macOS, and they follow a consistent naming scheme peppered with cryptic identifiers. Under the hood, backups consist of files with unique file names and extensions that map to specific database tables and media resources.
What is an iTunes Backup?
When you sync an iPhone with iTunes, the application generates a folder containing hundreds of files. Each one correlates to a distinct type of data. Key components include a Manifest.plist (cataloguing file references), Info.plist (device metadata), and a collection of database files in SQLite format. If the backup is encrypted, you’ll also see files protected by AES-256 encryption. This structure enables iTunes to offer seamless full restores—but it also means that extracting individual elements can be tricky without specialized tools.
Backup File Types and Storage Locations
Backups are stored in two primary locations:
- Windows: C:Users[Username]AppDataRoamingApple ComputerMobileSyncBackup
- macOS: ~/Library/Application Support/MobileSync/Backup/
Within the backup folder, you’ll find a mix of .plist, .mdbackup, and SQLite database files. Media assets like photos and videos appear as binary blobs with hashed file names. Application data, chat logs, and settings often live in .sqlite or .db files. Recognizing this layout is crucial: without an iPhone, you’ll rely on a software solution to interpret these cryptic fragments.
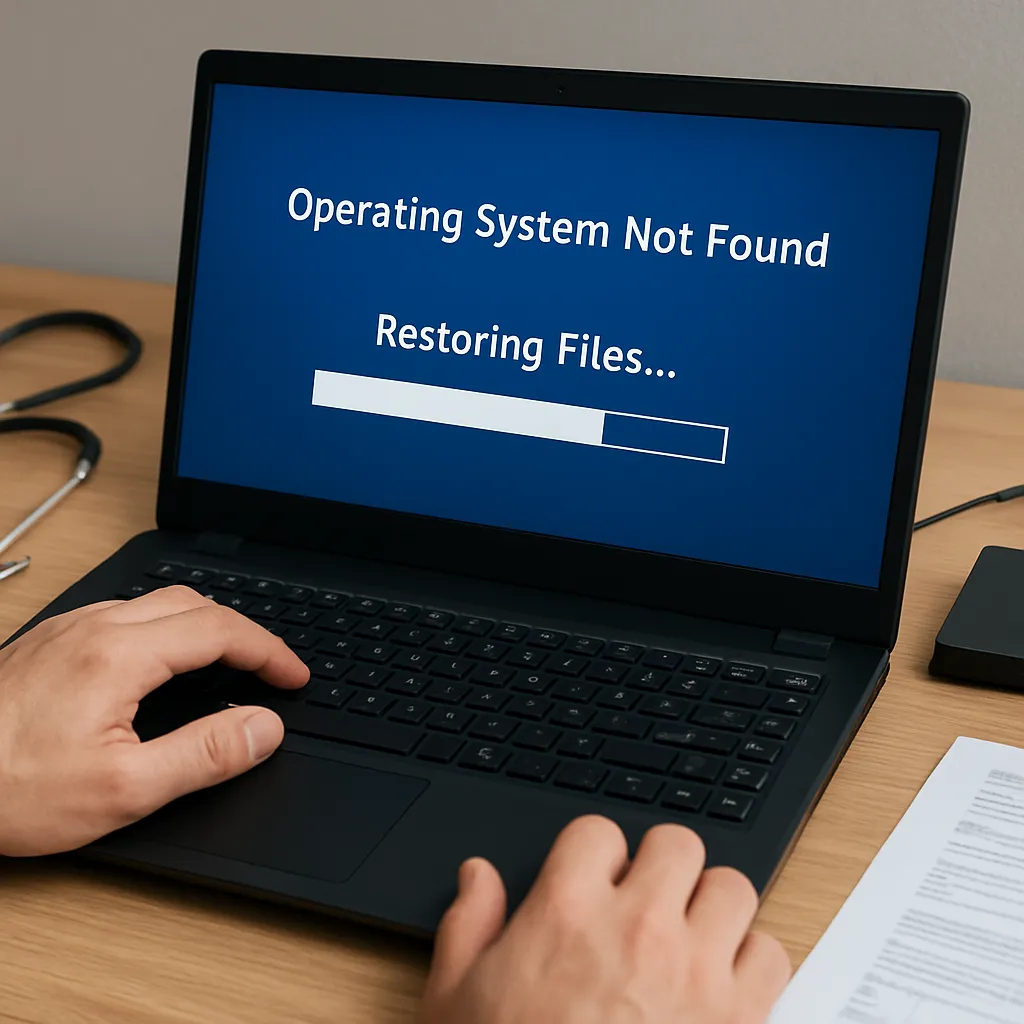
Challenges When You Don’t Have an iPhone
Attempting to extract data from an iTunes backup without the original device introduces several hurdles. You can’t rely on Apple’s native restore function, and manual file browsing yields gibberish due to hashed filenames. To overcome these challenges, recovery tools must reverse-engineer the backup’s schema and decrypt the content.
Encryption Barriers
If your backup was created under a password, all sensitive files remain locked. Only the correct passcode can unlock the AES-256 layer. Without it, messages, keychain entries, and health data remain inaccessible. Some recovery tools try to brute-force weak passwords, but this process can be time-consuming and isn’t guaranteed to succeed.
Compatibility and Format Issues
Apple periodically updates the backup format. A tool that supports iOS 11 may stumble on an iOS 14 backup. Additionally, cross-platform quirks—such as end-of-line characters or metadata encoding—can corrupt data interpretations. You need software that adapts to evolving algorithm changes and ensures your files remain intact.
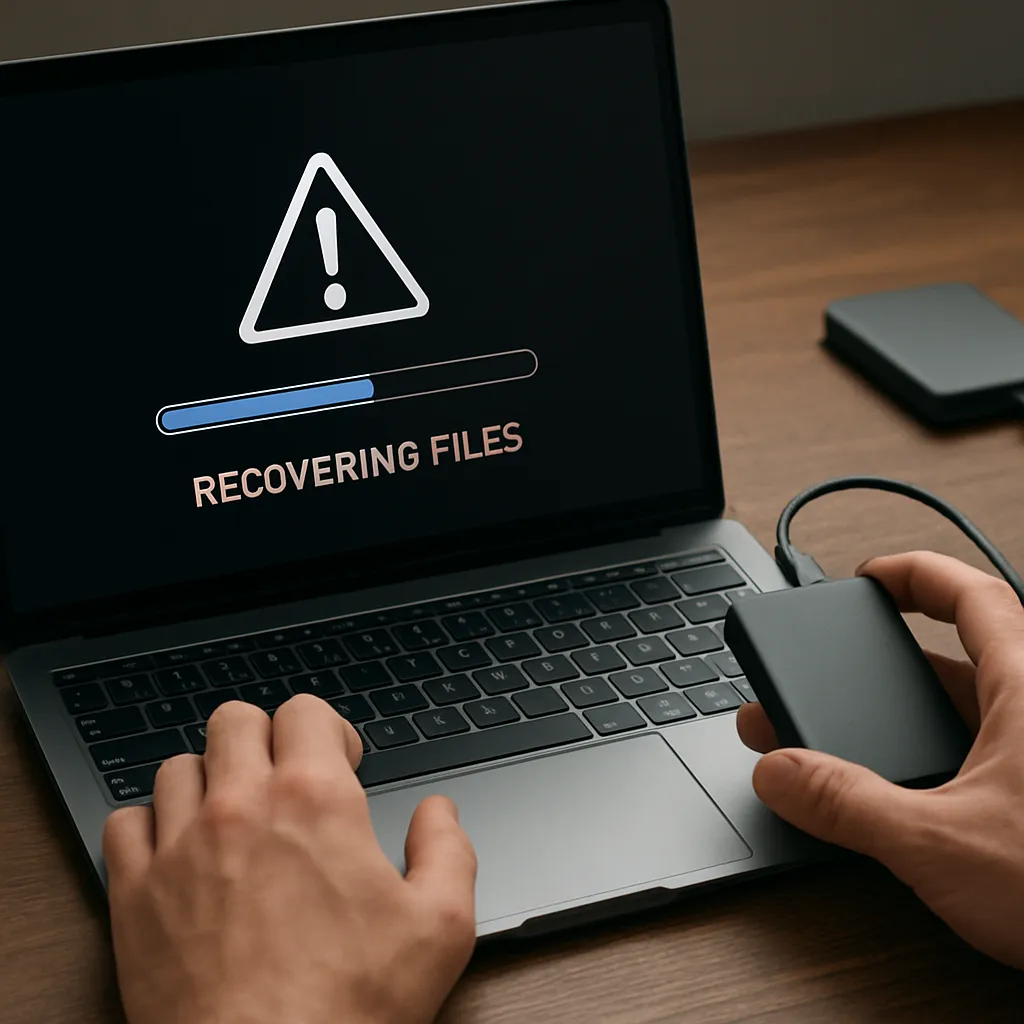
Recovering Files Without iPhone: Step-by-Step Guide
Follow these steps to extract your data seamlessly from an iTunes backup on your PC or Mac.
- Locate the backup folder path on your system (Windows or macOS). Make sure you have read permissions.
- Install a reliable recovery tool designed for iTunes backups, ensuring it supports encrypted and non-encrypted files.
- Load the target backup by pointing the application to the root backup folder.
- Initiate a thorough scan. The tool will parse manifest files and reconstruct the directory map.
- Preview the recovered items within the interface—photos, messages, contacts, and more.
- Selectively mark the specific files or data categories you wish to restore rather than performing a full dump.
- Click the export button. The tool’s algorithm decrypts (if needed) and exports your chosen data to your local drive.
Once the process completes, you’ll have direct access to commonly lost items such as voice memos, WhatsApp chats, and SMS logs—no iPhone required.
Top Recovery Software Solutions
Not all recovery tools deliver equal performance. Here are four industry-leading applications known for their robustness and user-friendly interfaces:
- Dr.Fone by Wondershare: Offers a quick scan mode and a deep scan for encrypted backups. It supports 20+ data types, including voice recordings and app documents. The interface is intuitive, but full functionality requires a paid license.
- iMyFone D-Back: Specializes in selective recovery and boasts advanced decryption for locked backups. It features a built-in preview engine and can export files in multiple formats. Its deep scan takes longer but yields comprehensive results.
- PhoneRescue by iMobie: Excels at recovering messages and call history. It provides flexible export options and supports cloud-based backups. The latest version adapts quickly to iOS updates, although some advanced features sit behind a premium tier.
- Tenorshare UltData: Known for a stable scanning engine and high success rates. It can extract data from corrupted backups and handle large file sets efficiently. The UI is streamlined, but occasional stability issues arise on older Windows builds.
Best Practices for Safe Data Extraction
Maintaining the integrity of your backup and ensuring a smooth recovery process requires attention to detail. Keep these guidelines in mind whenever you extract files without your device:
- Always create a duplicate of the original backup before starting any recovery. This preserves an untouched copy in case of errors.
- Keep your recovery software up to date. Developers release patches for new iOS versions and format changes.
- Safeguard your encryption credentials. Store backup passwords in a trusted password manager to avoid brute-force delays.
- Verify recovered files immediately. Open a sample of photos or text messages to confirm data integrity before deleting the backup.
- After successful extraction, archive the recovered data separately and free up storage space on your computer to prevent file conflicts.