Restoring files from an old backup disk can be a daunting task, especially when the storage medium uses outdated formats or the hardware shows signs of wear. Whether you’re retrieving priceless family photos, critical work documents, or archived projects, knowing how to navigate legacy systems and employ modern recovery solutions is essential. This article will guide you through assessing the health of your backup disk, selecting the most suitable recovery software, following a meticulous restoration workflow, and overcoming typical challenges along the way.
Understanding Your Legacy Backup Disk
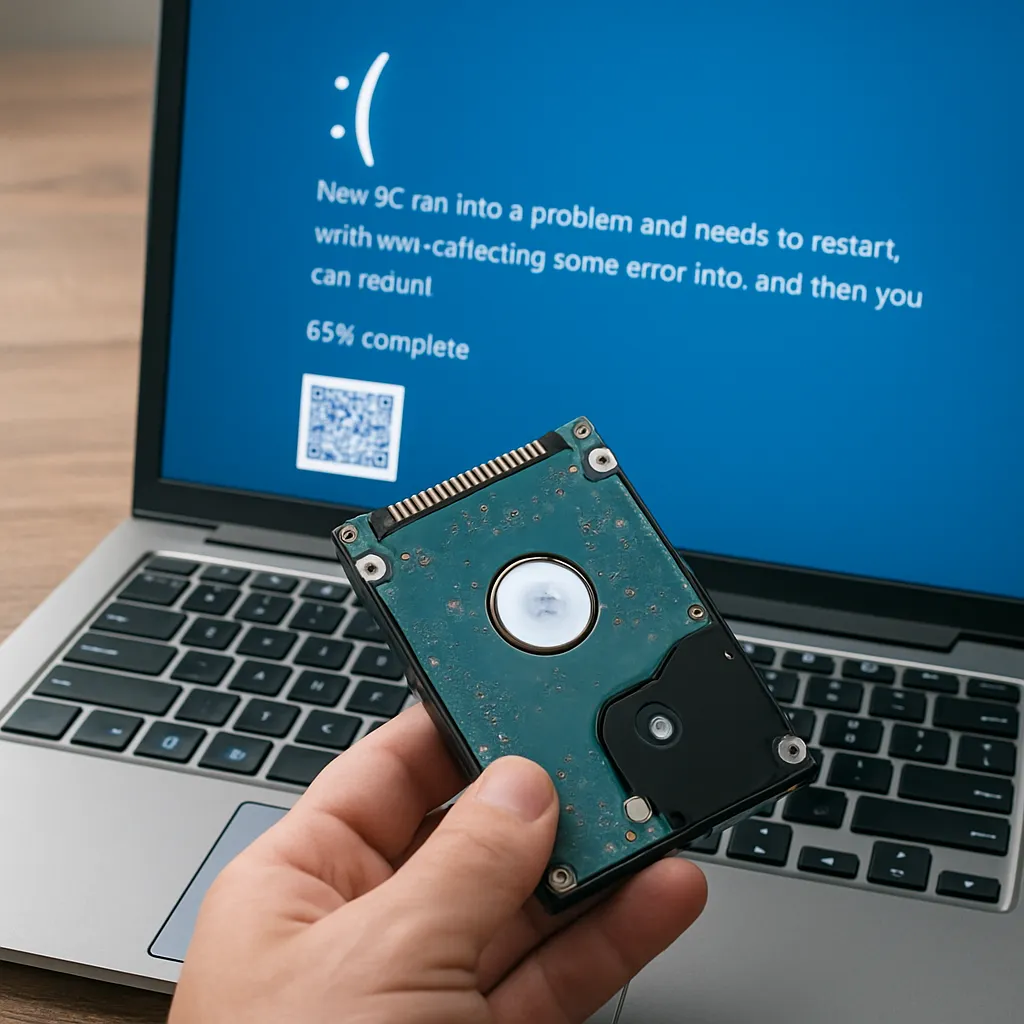
Before diving into any recovery procedure, it’s crucial to gain a thorough understanding of the old backup disk’s condition and format. Many older drives use FAT32, NTFS, HFS+ or even proprietary backup containers. Start by inspecting the physical state of the disk: check for scratches, corrosion on connectors, or unusual noises that could indicate mechanical failure. Next, determine the file system and partition structure using tools like Disk Management on Windows or Disk Utility on macOS. Recognizing whether the backup was created with a specific archiving tool (e.g., TAR, ISO image, or a brand-specific utility) will help you choose software that can interpret the backup index correctly. Skipping this step may lead to misinterpretation of the disk contents or inadvertent overwriting.
Choosing the Right Recovery Software
Selecting powerful and reliable recovery software can make or break your restoration project. Look for applications that support a broad range of legacy file systems, provide deep sector-based scanning, and offer a read-only mode to prevent accidental writes. Evaluate the following criteria:
- Compatibility: Works with NTFS, FAT32, HFS+, exFAT, and common archive formats.
- Deep Scan Engine: Capable of raw file recovery by recognizing file signatures.
- Read-Only Access: Ensures the old disk remains untouched during analysis.
- File Preview: Allows verification of recoverable files before extraction.
- Encryption Support: Handles encrypted backups or password-protected archives.
- Clone & Image: Can clone the entire disk or create an image to work on a copy.
- User Interface: Clear, step-by-step wizards and detailed logs.
Popular choices include commercial options like EaseUS Data Recovery Wizard, R-Studio, and Stellar Data Recovery, as well as open-source alternatives like PhotoRec and TestDisk. Weigh the cost against critical features such as sector scanning depth and file type recognition.
Step-by-Step Restoration Guide
Preparing Your Environment
- Connect the old backup disk via a reliable port (USB 3.0, eSATA, FireWire) using high-quality cables.
- Ensure your workstation has sufficient free space to store recovered files—ideally on a separate drive.
- Disable any automated backup or antivirus routines that may interfere with disk scanning.
- Run a quick SMART check using tools like CrystalDiskInfo or smartmontools to gauge disk health.
- Create a disk image (DD, ISO) to work on a replica instead of the original. This step safeguards against further deterioration.
Executing the Recovery Process
Once your environment is prepared, launch the recovery software and follow these general steps:
- Select the source disk or disk image. Opt for read-only mode or mounting the image in a virtual environment.
- Choose the scan type: quick scan for recently deleted files or deep scan to analyze every sector for lost data.
- Review the list of discovered partitions and directory structures. Use file previews to confirm integrity.
- Filter results by date, file extension, or size to narrow down the most relevant files.
- Select a secure destination (preferably not on the original disk) and initiate recovery. Monitor progress and logs for errors.
- After completion, verify the recovered files manually to ensure no corruption occurred during transfer.
Troubleshooting Common Issues
Even with a solid plan, you may encounter obstacles. Here’s how to address a few frequent problems:
- Disk Not Recognized: Try different USB ports, enclosures, or adapters. Update drivers or use a Linux live CD for alternate detection.
- Corrupted File System: Use TestDisk to rebuild the partition table or repair FAT/NTFS structures without data loss.
- Partial Recovery: If only fragments are recovered, rerun a deep scan with custom signatures for specific file types.
- Read Errors: Lower the read speed in software settings to reduce stress on failing disks, or employ ddrescue to create multiple read attempts.
- Permission Denied: Run the recovery tool with administrative or root privileges to bypass access restrictions.
Best Practices to Prevent Future Data Loss
Once your files are safely restored, consider implementing a robust backup strategy to avoid similar emergencies. Employ the 3-2-1 rule: maintain at least three copies of data on two different media types (local drive and cloud storage), with one copy stored off-site. Use encryption for sensitive files and automate daily or weekly backups. Regularly test your backups by restoring random files to confirm data integrity and ensure your recovery software is up to date. Finally, label and store physical media in climate-controlled environments to prolong the lifespan of disks.