Losing precious documents, photos, or videos from a malfunctioning storage device can be a nightmare. Fortunately, with the right approach and reliable recovery tools, you stand a strong chance of restoring deleted files from a hard drive. This guide dives into the key factors that influence successful data retrieval, outlines best practices for choosing software, and walks you through detailed recovery procedures.
Understanding Data Loss: Causes and Challenges
Data erasure can occur due to a variety of reasons, each presenting its own set of complexities. Recognizing these causes helps you select the most appropriate recovery strategy.
Accidental Deletion
- Users often remove files to clear space or by mistake. Once the Recycle Bin is emptied, references to the data are wiped, though the underlying bits remain on disk until overwritten.
- Performance of recovery tools in this scenario depends on how quickly you act and whether new data has been written.
File System Corruption
- Unexpected shutdowns, system crashes, or power failures can corrupt the file system index, making files inaccessible without actually deleting them.
- Recovery software that performs a raw scan can locate file signatures and reconstruct content even when the directory structure is damaged.
Partition Loss and Formatting
- Repartitioning, formatting, or resizing operations may remove partition tables. While the drive appears blank, data sectors can still hold intact information.
- Specialized tools read sectors directly to rebuild partition entries and extract file data block by block.
Essential Features of Effective Recovery Software
Selecting the right recovery application can mean the difference between full restoration and irretrievable loss. Here are the core capabilities to look for:
- Deep Scan Depth: The ability to perform low-level scanning across your entire disk surface increases the chance of locating fragmented or partially overwritten files.
- File Signature Library: A comprehensive database of common file headers enables recovery of various formats—from office documents to multimedia files.
- Preview Functionality: Being able to view thumbnails or content snippets before extraction helps you avoid rescuing useless or corrupted data.
- Selective Recovery: Instead of indiscriminately restoring everything, choose specific files or folders to minimize recovery time and storage requirements.
- Read-Only Mode: Operating in a non-destructive manner ensures that your hard drive’s data integrity remains intact during the recovery process.
- Support for multiple file systems (NTFS, FAT32, exFAT, HFS+, ext variants) broadens compatibility across platforms.
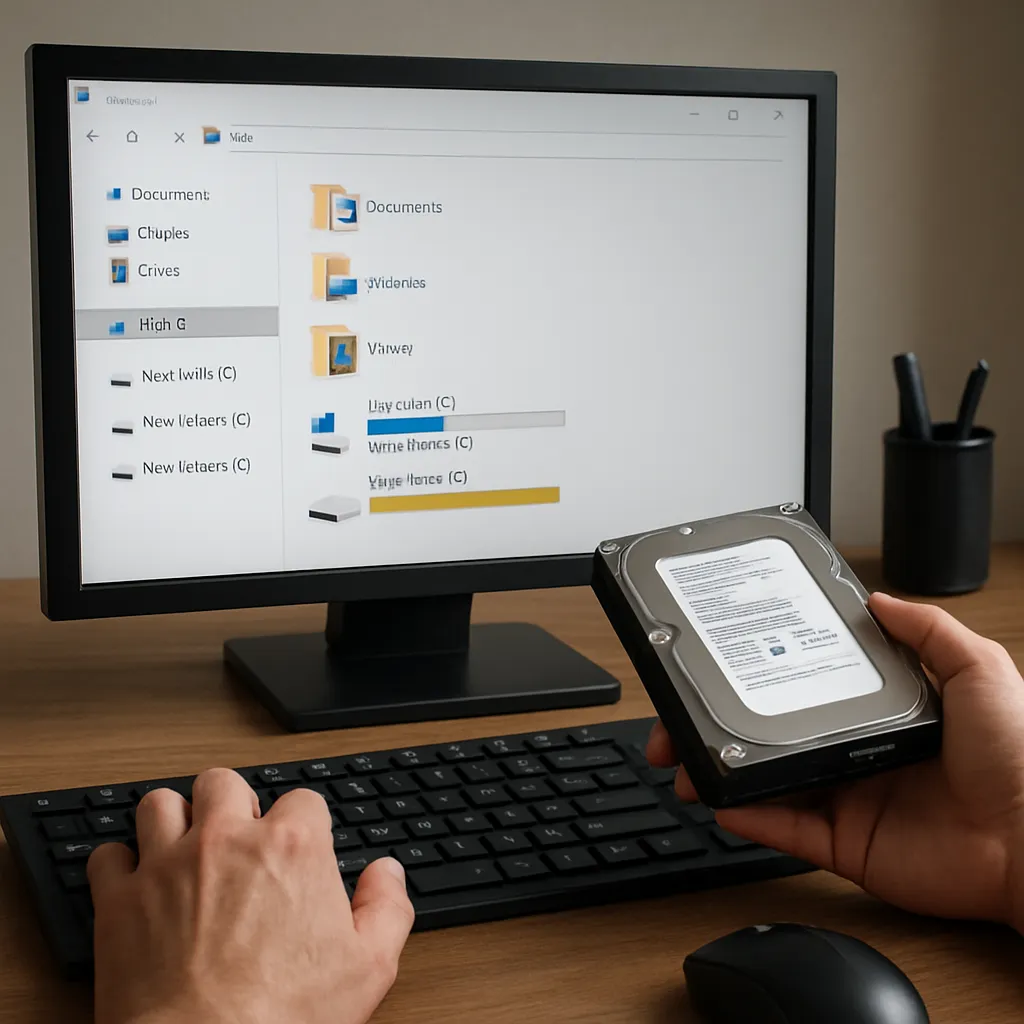
Step-by-Step Guide to Recovering Deleted Files
Follow this structured approach to maximize your chances of successful retrieval.
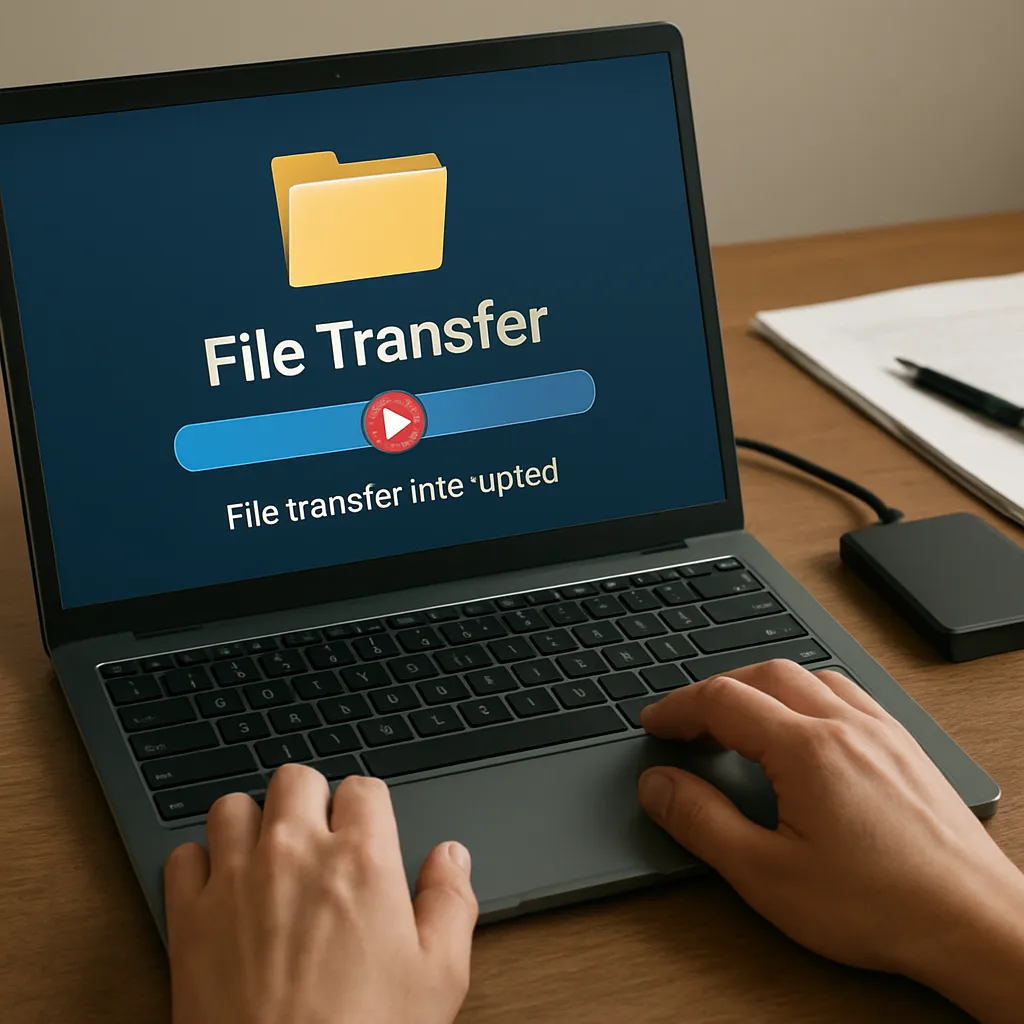
1. Stop Writing to the Drive
Every new file or OS operation risks overwriting previously deleted data. Avoid creating or saving anything on the affected hard drive until recovery is complete. If possible, unmount it from the system and attach it to a separate computer or use a bootable recovery environment.
2. Choose and Install Recovery Software
Pick a tool that supports your scenario—whether recovering from an accidentally formatted partition, corrupted directory, or partially overwritten sectors. Install the application on a different drive to prevent accidental overwrites.
3. Perform a Quick Scan
Start with a quick scan to locate recently deleted files. This process reads file allocation tables and directory entries. If the files you need appear in the results, select them, preview to confirm integrity, and proceed to recovery.
4. Conduct a Deep or Raw Scan
When a quick scan fails to find critical items, initiate a full disk scan. The software will analyze the raw data on each sector, searching for recognizable signatures. This step is time-consuming but often yields better results for severely damaged or formatted drives.
5. Filter and Preview Recoverable Files
Use built-in filters to organize recoverable files by type, size, or date. Preview images, documents, and videos to verify that the content is intact and legible. Discard irrelevant or corrupted entries to save space on your recovered data store.
6. Restore to a Separate Location
Recover files directly to an external drive, USB stick, or network location. Never write the restored data back onto the source disk, as this could overwrite additional recoverable content. After completing recovery, verify file integrity by opening or playing restored items.
Best Practices to Prevent Future Data Loss
While recovery software can rescue data in many scenarios, prevention remains the optimal strategy. Implement these safeguards to minimize the risk of future loss:
- Regular Backups: Schedule automatic backups to local NAS devices or cloud storage. Follow the 3-2-1 rule: three copies, two different media, one offsite.
- Disk Health Monitoring: Use S.M.A.R.T. utilities to monitor disk temperature, bad sectors, and performance metrics. Replace drives showing warning signs to avoid sudden failures.
- Power Surge Protection: Invest in an uninterruptible power supply (UPS) to guard against voltage spikes and unexpected shutdowns.
- Controlled Defragmentation: For spinning HDDs, periodic defragmentation improves read/write performance. However, modern SSDs do not require defragmentation and benefit from TRIM management.
- Access Controls and Encryption: Protect sensitive data with strong passwords and full-disk encryption to prevent unauthorized deletions or tampering.
Advanced Techniques and Troubleshooting
In challenging situations where standard recovery fails, consider these advanced options:
Hexadecimal Editing
Experienced users can employ a hex editor to manually reconstruct file headers if signature-based scanning misses uncommon formats. This requires understanding binary structures and offsets for each file type.
Disk Imaging
Create a sector-by-sector clone or image of the affected drive. Working on the image rather than the original reduces wear on failing hardware and allows repeated recovery attempts without risking the source data.
Professional Data Recovery Services
When hardware failure involves physical damage—such as a clicking noise or motor malfunction—seek help from specialists. Cleanroom labs can open drives and transplant platters to functional mechanisms, recovering data that software alone cannot.
Adopting a systematic recovery process, equipping yourself with feature-rich software, and following preventative measures will empower you to tackle most data loss scenarios with confidence and efficiency.