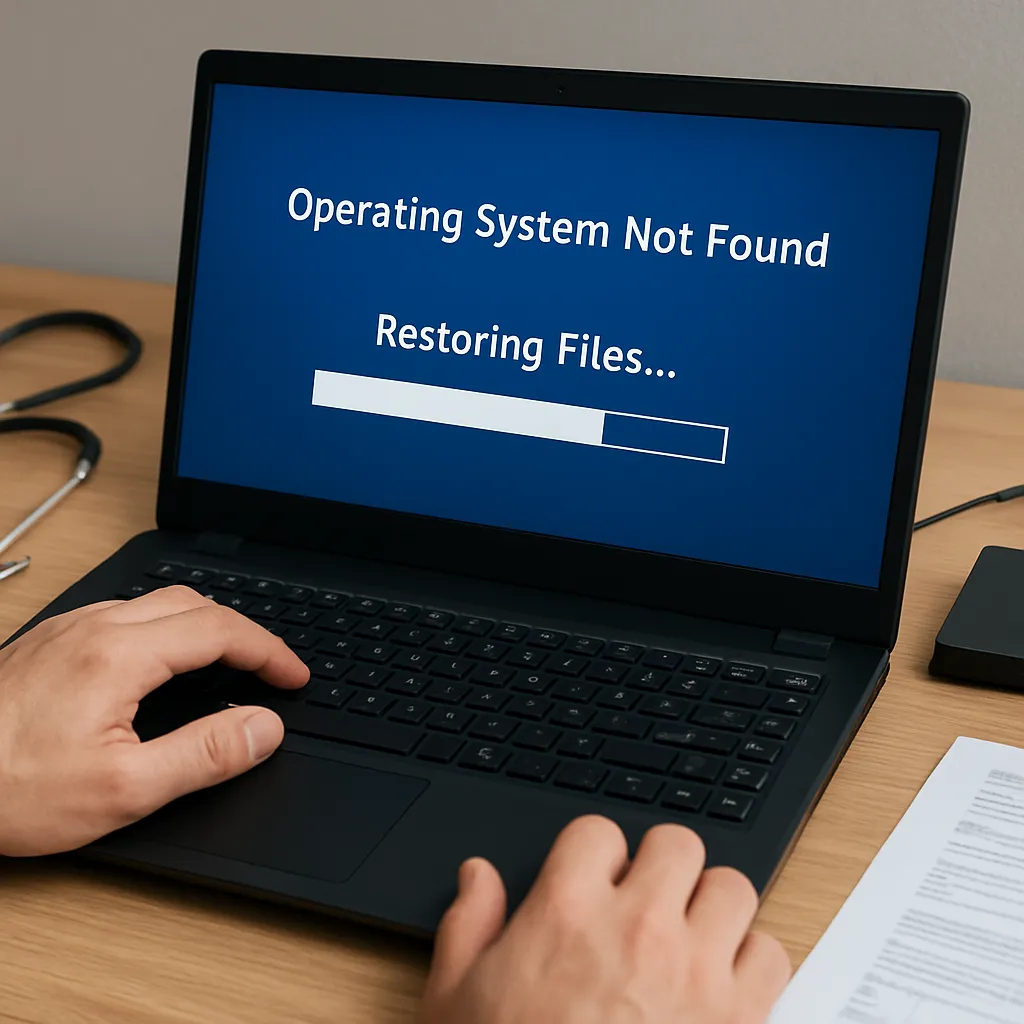
A sudden electrical spike can strike without warning, rendering your computer’s storage devices unresponsive or your critical documents inaccessible. Whether it’s a brief flicker or a major blackout, understanding how to approach file restoration after a power surge is vital to safeguard your digital life. This article walks you through each phase of the recovery process, from initial inspection to deploying specialized software tools, ensuring maximum retention of precious data.
Understanding the Impact of a Surge on Storage Devices
When a surge travels through electrical wiring into your system, it can overload circuits and components. Typical victims include hard disk drives (HDDs), solid-state drives (SSDs), USB flash drives and even cloud routers. The consequences vary:
- Physical harm to controller boards or read/write heads in HDDs
- Firmware corruption in SSDs, leading to inaccessible memory blocks
- Unexpected shutdowns that leave files in an incomplete state
- Voltage spikes that fry internal circuitry of external drives
While some devices may show visible signs—burn marks or an unusual burning smell—others might simply refuse to power on. In all cases, prioritizing safety and following a methodical plan increases your odds of successful recovery.
Assessing the Damage and Preparing for Recovery
1. Initial Visual and Auditory Inspection
Before you connect or power anything:
- Unplug the device from mains power. Check cables for scorch marks.
- Listen for clicking or grinding noises—classic signs of mechanical failure.
- Inspect circuit boards for bulging capacitors or burnt components.
2. Safe Handling and Isolation
To avoid further damage:
- Avoid jarring or shaking HDDs—this can misalign delicate heads.
- Work in an anti-static environment. Ground yourself to prevent electrostatic discharge.
- Label each drive clearly, especially when multiple units are affected.
If you suspect catastrophic failure—like a seized platter or irreparable board fault—consult a professional data recovery service. Otherwise, proceed to a DIY approach with caution.
Selecting the Right Software for File Restoration
Choosing an effective recovery application is crucial. Look for tools that offer:
- Support for multiple file systems (NTFS, FAT32, exFAT, APFS).
- Deep scan capabilities to reconstruct fragmented or partially overwritten files.
- Preview functions, so you can verify files before saving them elsewhere.
- Read-only modes that prevent accidental overwrites of the source drive.
Popular options include commercial suites with intuitive interfaces as well as free open-source utilities. Regardless of price, confirm that the tool supports the file formats you need—documents, photos, video, archives and more.
Step-by-Step Guide to Restoring Files
1. Create a Disk Image
Rather than working directly on the damaged medium, produce a sector-by-sector backup image. Most recovery programs can clone drives into an image file. This ensures all subsequent operations happen on a safe replica, preserving the original in case of errors.
2. Mount and Scan the Image
Load the image into your chosen recovery application. Opt for a thorough “Deep Scan” or “Raw Recovery” mode to detect lost partitions, corrupted directories and orphaned file fragments. Depending on drive size and damage severity, scanning may take several hours.
3. Review and Select Files for Restoration
As the scan completes, browse through the recovered file list. Use preview tools to confirm integrity. Focus first on irreplaceable items:
- Financial spreadsheets and tax records
- Memorable photos and videos
- Work documents and project files
- Emails and contact databases
4. Save Recovered Data to a Secure Location
Avoid restoring files back to the affected drive. Instead, direct output to a separate healthy disk or network storage. This reduces the risk of overwriting residual fragments you may still need.
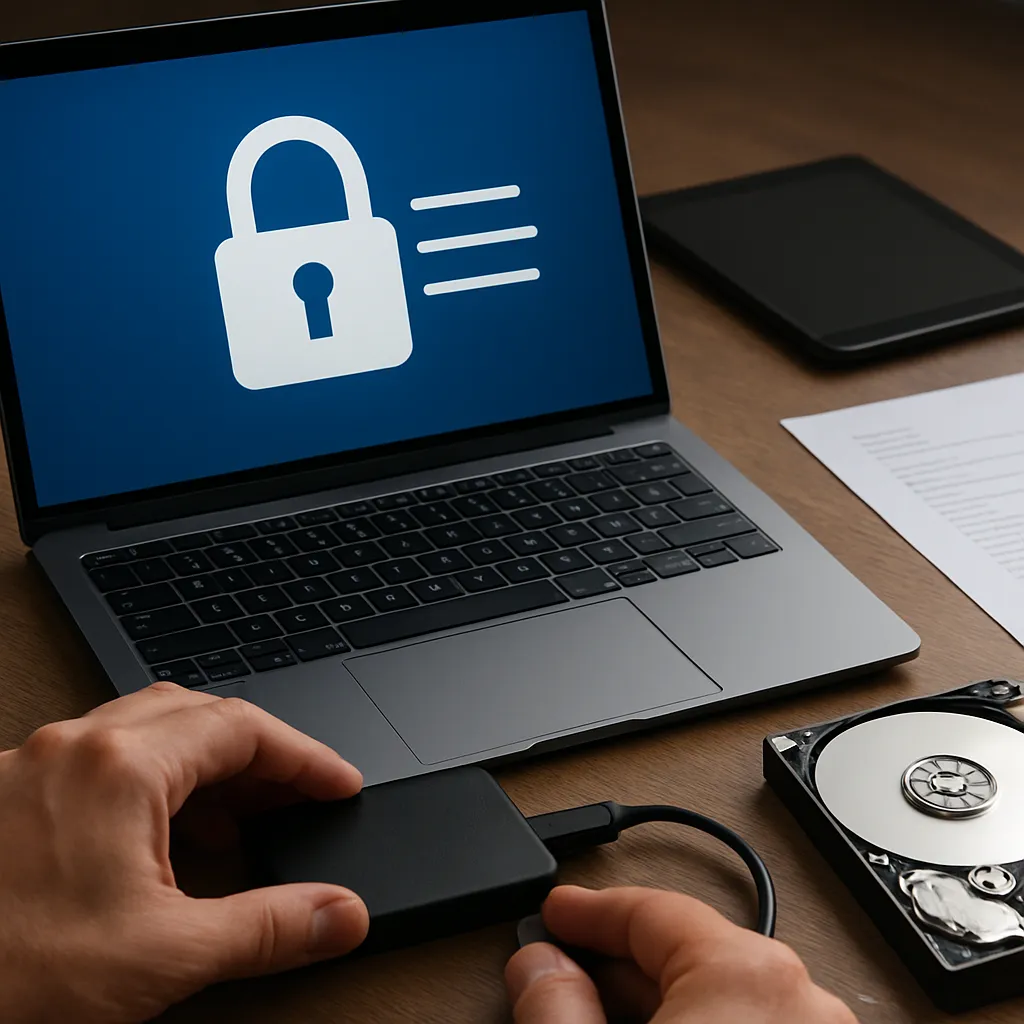
Advanced Techniques for Corrupted or Encrypted Files
When working with severely corrupted or encrypted container files:
- Attempt file carving: some tools can reconstruct data by identifying header and footer signatures.
- Use checksums or built-in error correction features to repair disk images with minor bad sectors.
- For encrypted volumes, ensure you have correct passwords or recovery keys before initiating scans. Without proper credentials, the software can only recover encrypted blobs, not readable content.
Employing these specialized methods maximizes chances of restoring not only intact files but also chopped or partial fragments that standard scans might miss. Always document each step so you can backtrack if an approach fails.
Protecting Against Future Damage
Prevention remains the most reliable safeguard. Consider these strategies:
- Install a high-quality surge protector or an uninterruptible power supply (UPS) to buffer sudden spikes.
- Implement a regular backup schedule—maintain at least one off-site copy and one local copy.
- Use journaling file systems that minimize data loss during abrupt shutdowns.
- Monitor drive health through SMART reports and replace aging disks before failure.
Combining robust hardware protection with sound recovery plans ensures your integrity remains intact. By following the steps outlined above, you can confidently handle post-surge scenarios, reclaim lost files and resume operations with minimal downtime.