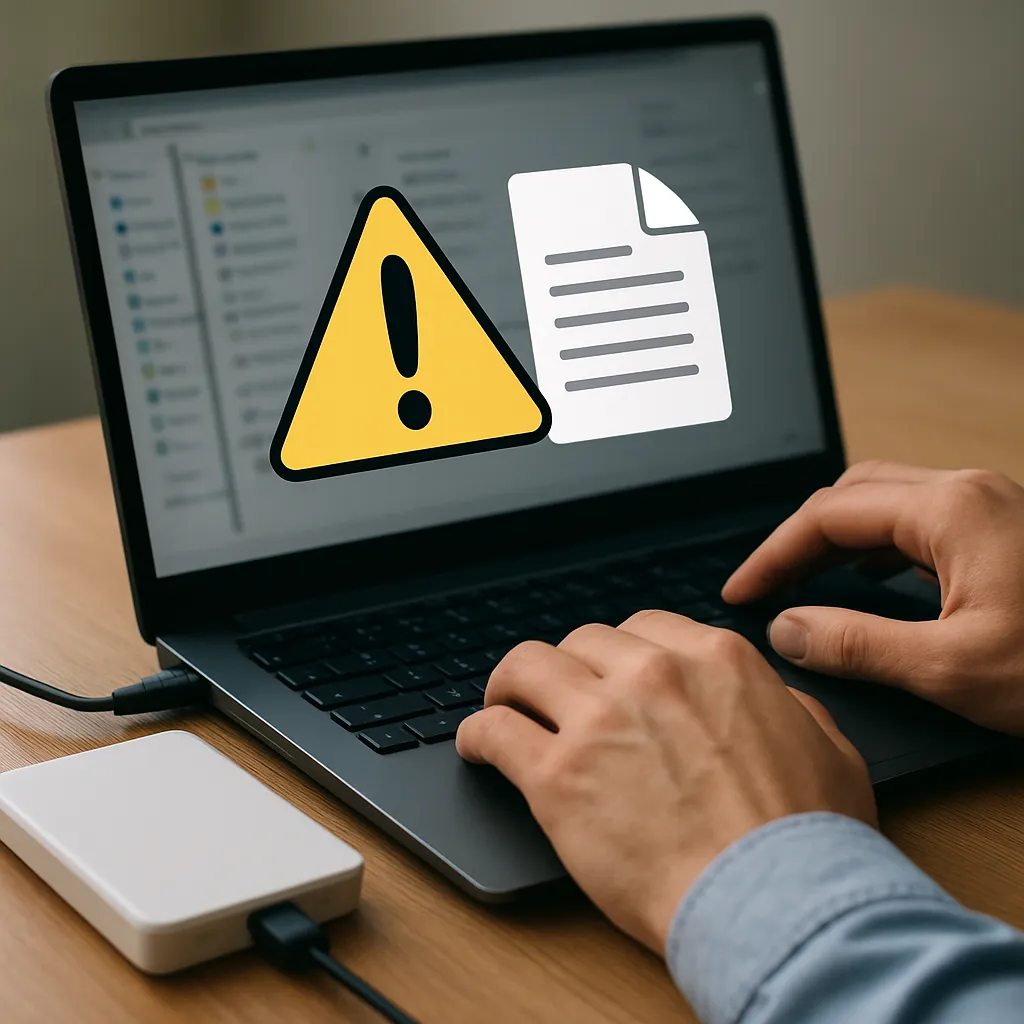
Imagine losing hours of brainstorming, to-do lists, or personal thoughts when a simple swipe erases everything from your iPhone. This comprehensive guide offers step-by-step strategies to help you restore deleted notes efficiently. Whether you rely on built-in features or powerful recovery tools, you’ll discover how to tackle accidental deletion and safeguard your precious information.
Understanding the Causes of Note Loss
Before diving into solutions, it’s crucial to identify why your notes might disappear. Recognizing the root cause helps you choose the most effective recovery method.
1. Accidental Deletion
- Tapping “Edit” or “Select All” by mistake, then hitting “Delete.”
- Unintentionally emptying the “Recently Deleted” folder.
- Misusing swipe gestures leading to permanent removal.
2. iOS Update or System Crash
- Glitches during iOS installation causing data corruption.
- Forced restarts while the Notes app is saving new content.
- Recovery mode operations that don’t include recent backups.
3. Synchronization Errors
- Problems with iCloud sync disabling automatic upload.
- Conflicts between multiple Apple IDs or outdated credentials.
- Network issues interrupting the Notes synchronization process.
Built-In Apple Solutions for Recovering Notes
Apple offers several first-party options to help you retrieve recently deleted notes without installing any third-party software.
Recently Deleted Folder
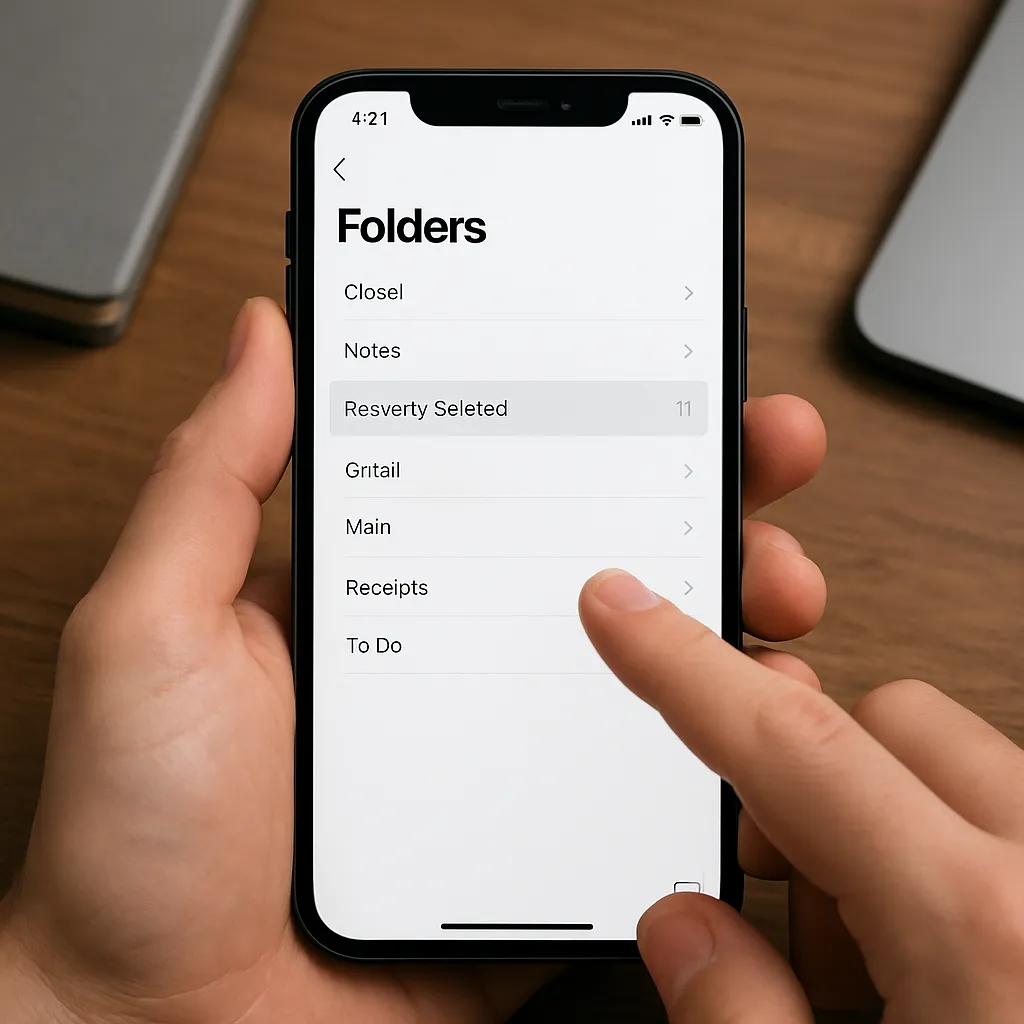
Every note you delete moves to the “Recently Deleted” folder for up to 30 days:
- Open the Notes app.
- Navigate to Folders > Recently Deleted.
- Select the note and tap “Recover” to move it back.
This method is the fastest and most reliable when deletion occurred recently.
iCloud.com Recovery
If you enable iCloud backup for Notes, you can recover via the web interface:
- Visit iCloud.com and log in with your Apple ID.
- Select Notes > Recently Deleted.
- Choose the desired note and click “Recover.”
This approach is helpful if your iPhone is offline or you prefer desktop restoration.
Restoring from iTunes or Finder Backup
Backing up your device to a computer can serve as a safety net:
- Connect your iPhone to a Mac or PC.
- Open Finder (macOS Catalina and later) or iTunes (Windows/macOS Mojave).
- Select your device, then click “Restore Backup.”
- Choose a backup created before the deletion event.
Bear in mind that this process replaces current data with the snapshot from the backup date. Make sure to export newly created content elsewhere first.
Using Third-Party Recovery Software
When built-in methods fail or the note is older than 30 days, dedicated recovery tools can scan internal storage and hidden caches.
Key Features to Consider
- Compatibility with the latest iOS versions.
- Ability to preview and selectively recover specific notes.
- Support for encrypted backups and locked devices.
- Clear user interface and guided wizards.
- Reliable customer support and regular updates.
Step-by-Step Guide Using RecoveryApp Pro
RecoveryApp Pro is a popular tool designed for iPhone data retrieval. Follow these general steps (exact labels may vary by software):
- Download and install RecoveryApp Pro on your computer.
- Launch the program and connect your iPhone via USB.
- Select “Recover from iOS Device” mode.
- Click “Scan” to let the tool analyze available storage space.
- Filter results by choosing “Notes” category.
- Preview recovered items in the sidebar.
- Tick the boxes next to the notes you want, then hit “Recover.”
- Save restored files to a local folder or directly back to your device.
Most utilities offer a free preview, enabling you to confirm data integrity before purchasing a license.
Alternative Tools Worth Exploring
- SafeRecover for iOS – known for high security and deep scan algorithms.
- Data Rescue iPhone Edition – excels in damaged or water-logged device scenarios.
- PhoneMemory Extractor – offers both Windows and macOS support with intuitive dashboards.
Preventive Measures and Best Practices
Proactive habits can drastically reduce the risk of note loss in the future.
1. Enable Automatic iCloud Sync
- Go to Settings > [Your Name] > iCloud.
- Toggle on Notes to ensure continuous backup.
- Verify that you have sufficient iCloud storage space.
2. Schedule Regular Local Backups
- Connect to your computer weekly and perform an encrypted backup.
- Label backups with clear dates to simplify restoration choices.
- Store backup files in multiple locations if possible.
3. Utilize Shared Folders and Export Options
- Create shared notes in collaborative Apple Notes folders.
- Export critical content as PDF or text files to cloud drives like Dropbox.
- Maintain offline copies of highly sensitive or frequently edited notes.
4. Keep Software Up to Date
- Install the latest iOS releases to benefit from bug fixes.
- Update recovery tools to leverage improvements in scanning engines.
- Review changelogs for known issues that might affect note stability.