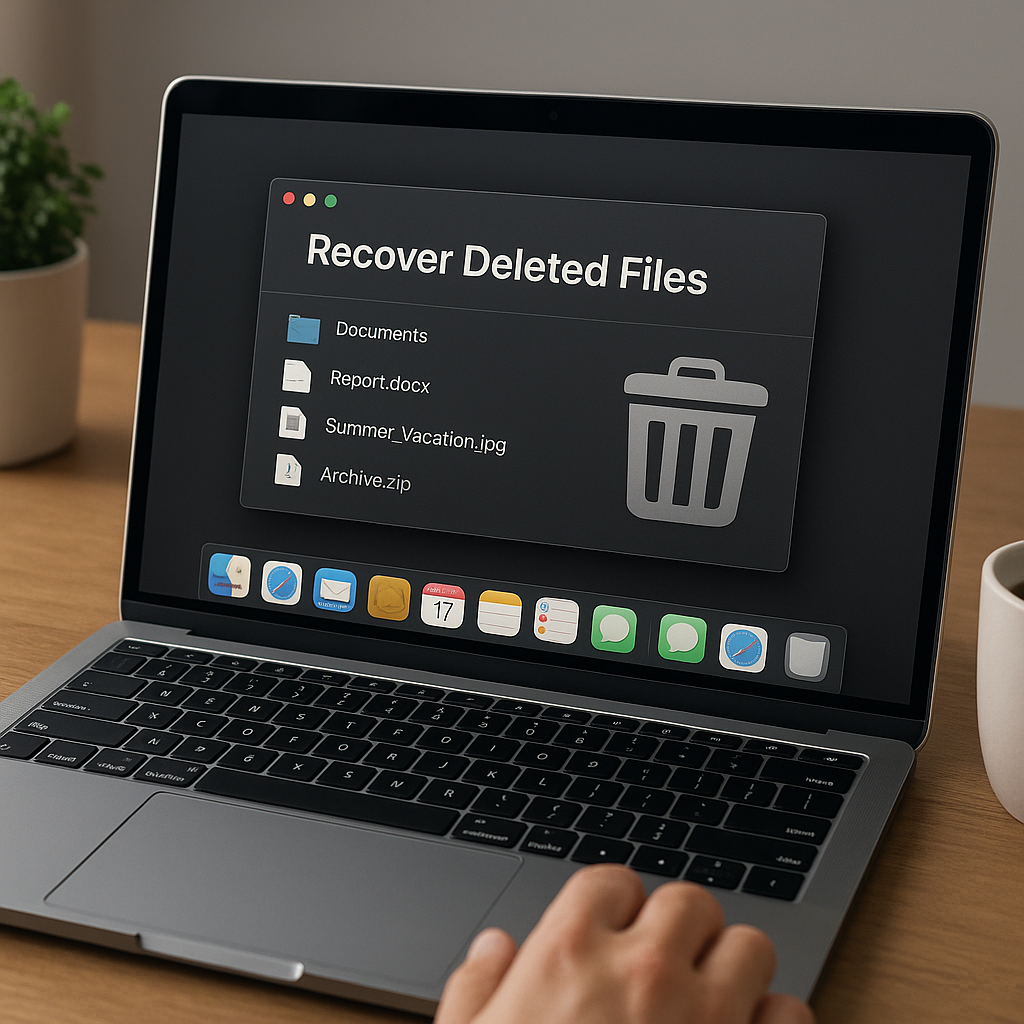
Emptying the Trash on a Mac can feel like a permanent action, but deleted files often remain on the drive until new data overwrites them. By acting quickly and using the right tools, you can maximize your chances of restoring lost documents, photos, videos and other crucial items. The following guide explores key concepts, recommended software and best practices for recovering deleted files after emptying Trash on macOS.
Understanding How macOS Handles Deleted Files
When you delete a file, macOS typically moves it to a hidden folder called .Trashes. Emptying the Trash removes directory entries and marks occupied space as available, yet the underlying data remains on disk until overwritten. Recognizing this mechanism is essential to successful recovery. Several factors can influence results:
- Type of drive: HDD vs SSD – SSDs often use TRIM, which can permanently erase freed blocks faster.
- File system format – APFS and HFS+ manage metadata differently, affecting how recovery tools scan and interpret residual data.
- Subsequent disk activity – The more you store new files, install apps or perform updates, the higher the risk of corruption or overwriting of the deleted content.
Before attempting rescue, minimize disk use: refrain from installing new applications, saving large downloads or loading multimedia. This precaution helps maintain the original data pattern on the storage medium.
Choosing the Right Recovery Software for macOS
Not all recovery tools deliver equal performance. Selecting software that understands modern Apple file structures and offers advanced scan options is crucial. Key considerations include:
- APFS compatibility – New Macs default to APFS, requiring support for snapshots, clones and encryption.
- Deep scan algorithms – Seek tools that perform both quick and deep scan modes to locate missing files at both file system and block levels.
- Preview functionality – The ability to preview documents, images and videos before restoring ensures you recover the correct items.
- User interface clarity – A straightforward wizard can guide even novice users through the recovery workflow.
- Safety measures – Software should read data in read-only mode to avoid accidental writes to the target drive.
Popular options include Data Rescue, Disk Drill, EaseUS Data Recovery Wizard and Stellar Data Recovery. Each offers trial versions to scan for recoverable files before purchase. Always verify that the trial scan locates your missing items, then invest in a license to unlock full restoration capabilities.
Step-by-Step Guide to Recovering Deleted Data
Recovering files involves a series of careful steps. Follow this general workflow to maximize success rates:
- Install recovery software on a separate drive or external USB to avoid overwriting lost data.
- Launch the app and select the affected disk volume.
- Choose a scan mode: perform a quick scan first, then a deep scan if necessary.
- Wait while the tool analyzes file system structures, catalog records and raw disk sectors.
- Use the built-in preview window to inspect recoverable files – images, documents and archive formats.
- Mark desired items and specify a different recovery destination (not the original volume).
- Begin restoration, then verify recovered files for integrity and completeness.
Failure to adhere to this sequence can exacerbate data loss. Always choose a recovery location on a different partition or an external drive. Once restored, confirm file integrity before deleting any working backups.
Comparing Quick Scan vs Deep Scan
Modern recovery tools offer two main scan types:
- Quick Scan: Uses existing file system indexes to rapidly locate recently deleted items. Ideal for early recovery attempts but may miss complex deletions.
- Deep Scan: Inspects raw sectors for known file signatures, reconstructing data fragments without relying on directory entries. More time-consuming but far more exhaustive.
Begin with Quick Scan to reclaim the low-hanging fruit. If critical assets remain missing, proceed with a Deep Scan. Patience is key, as a thorough block-level examination on large volumes can take several hours.
Advanced Tips and Preventive Strategies
Beyond one-time recovery efforts, adopting robust backup and maintenance habits helps mitigate future emergencies. Consider the following tactics:
- Time Machine: Apple’s built-in backup solution offers hourly snapshots, daily backups and version history. Ensure an external disk is configured and backups run regularly.
- Cloud storage: Services like iCloud Drive, Dropbox or Google Drive can automatically sync key folders, offering an additional safety net against accidental deletion.
- Disk health monitoring: Tools such as SMART Utility can warn of impending hardware failure, prompting timely data migration.
- Permissions auditing: Restrict Trash emptying rights for less technical users to prevent inadvertent mass deletions.
- Encryption: Leverage FileVault to secure sensitive data, balancing security with the need for reliable recovery methods.
Managing SSD Behavior and TRIM
Because SSDs with TRIM permanently clear unused blocks to maintain performance, recovery windows are shorter compared to HDDs. To improve odds:
- Disable TRIM temporarily if your recovery software supports it.
- Avoid write-intensive operations on the SSD until recovery completes.
- Use frequent incremental backups to external drives or network storage.
Dealing with File Fragmentation
Although fragmentation is less common on modern file systems, scattered file fragments can complicate the reconstruction process. Stellar recovery tools incorporate defragmentation logic to piece together partial content, yet they perform optimally when fragmentation is minimal. Regular system maintenance and defragmentation (for HDDs) can improve future recovery success rates.
Ensuring Ongoing Data Protection
Recovering deleted files is resource-intensive and never guaranteed. Building a resilient data management strategy is the best defense against permanent loss. Combine local backups, cloud synchronization, regular system updates and prudent user permissions to maintain data integrity. With these measures in place, you’ll face fewer headaches and greater peace of mind when accidental deletions occur.


