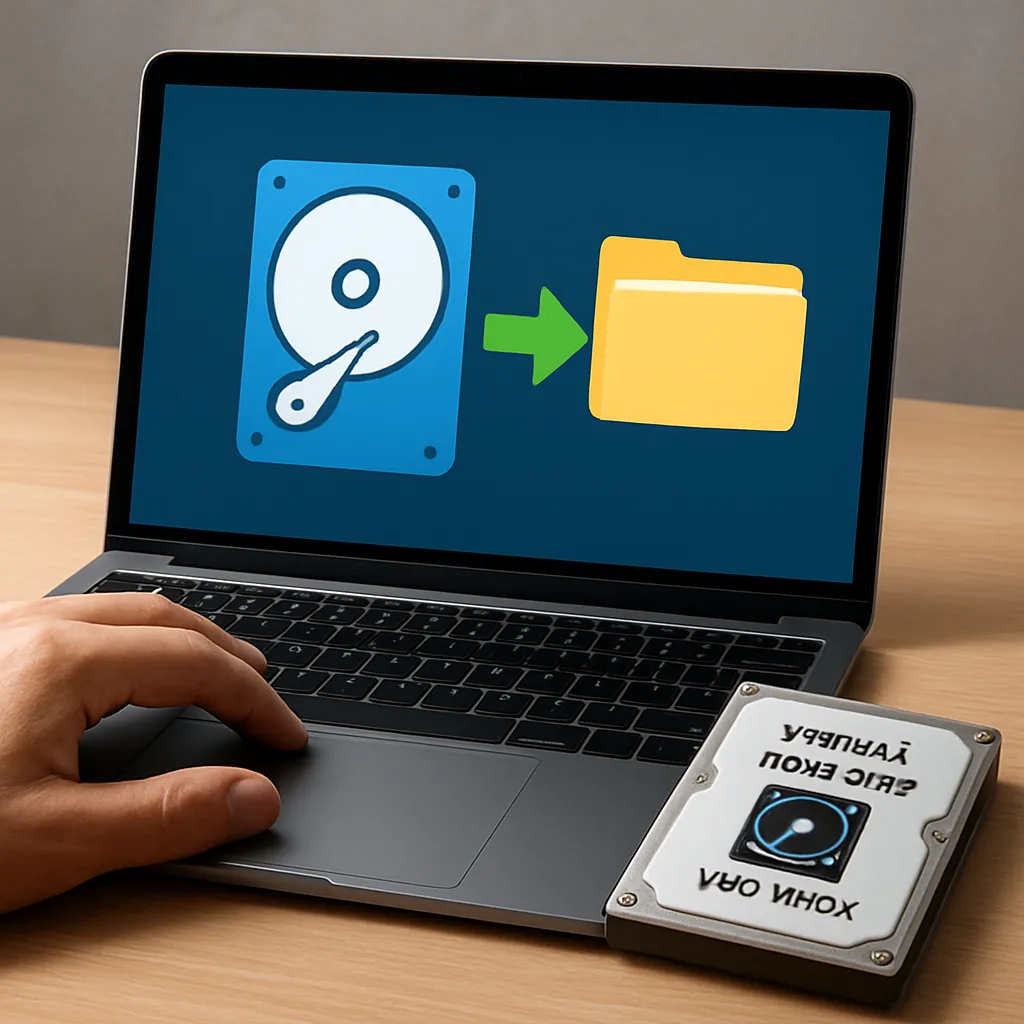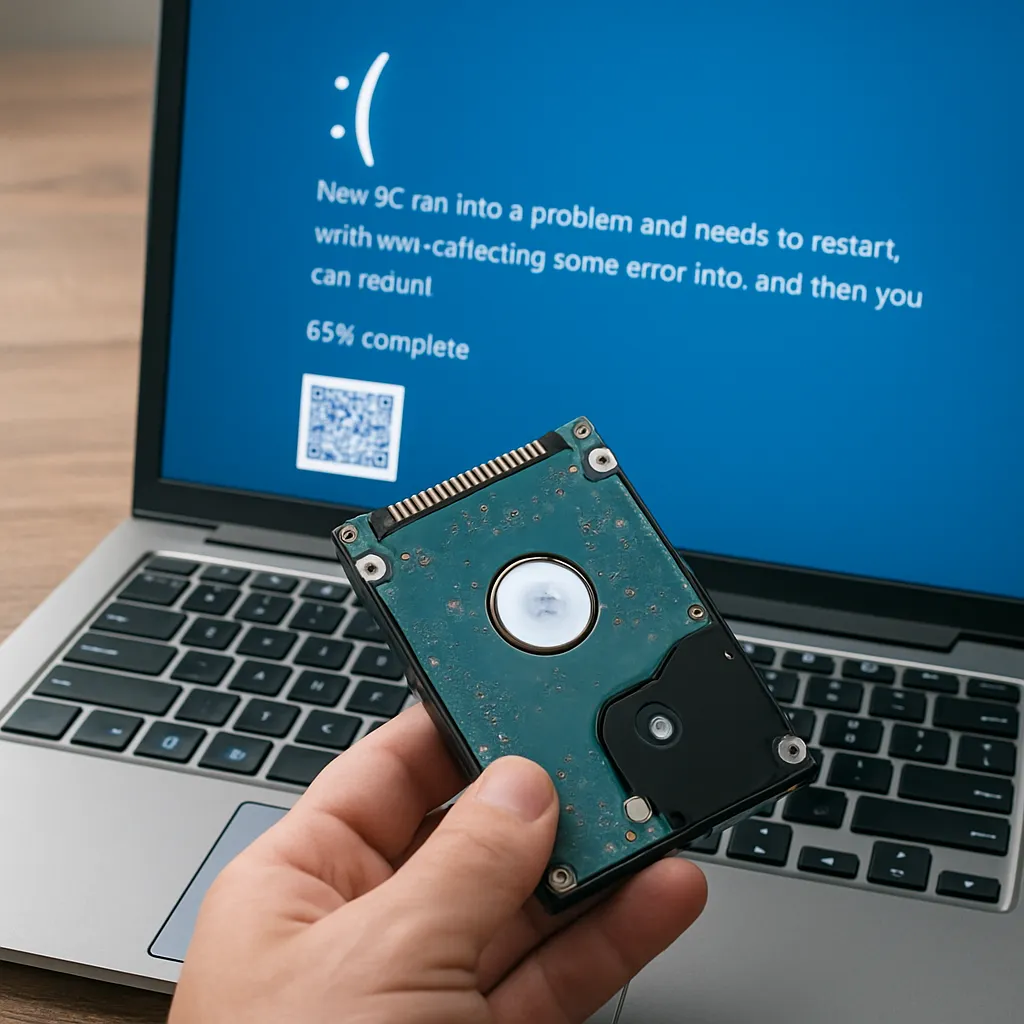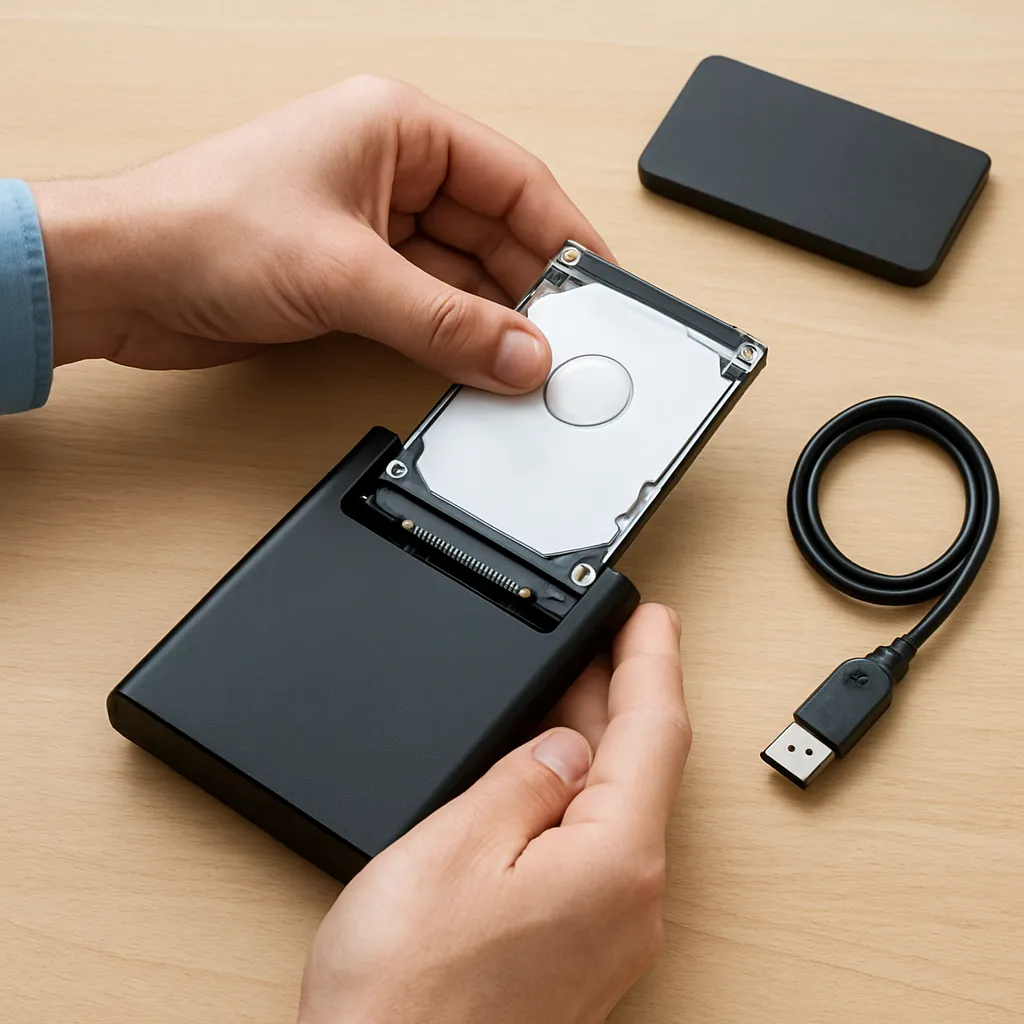
Retrieving valuable files from a laptop hard drive enclosure can be a daunting task, especially when dealing with unexpected failures or accidental deletions. This guide will walk you through the essential concepts, tools, and step-by-step procedures to ensure a successful data recovery journey. From selecting the right enclosure to choosing the most effective recovery software, you’ll find actionable tips to salvage your precious documents, photos, and videos.
Understanding Hard Drive Enclosures and Data Loss Scenarios
Laptop hard drive enclosures serve as a convenient way to transform internal drives into external storage devices. They connect via USB, eSATA, or Thunderbolt interfaces, allowing easy access to data when a laptop fails or is retired. However, various issues can compromise the integrity of your files:
- Physical damage or drops leading to bad sectors
- Corrupted file system structures due to improper ejection
- Firmware glitches or controller failures in the enclosure
- Accidental deletion or formatting of partitions
- Encryption lockouts when accessing a drive from another system
To maximize recovery chances, it’s essential to recognize the type of failure and plan your approach accordingly. A mechanically damaged drive may require professional intervention, whereas logical errors can often be resolved with the right software tools.
Preparing Your System for Data Retrieval
Before diving into the recovery process, ensure your workstation is ready. A stable environment minimizes the risk of further data corruption. Key preparation steps include:
- Verifying that your computer’s USB or Thunderbolt ports are fully compatible with the enclosure’s interface
- Shutting down any intensive applications to avoid performance bottlenecks
- Installing the latest drivers for your operating system
- Keeping a separate backup drive available to store recovered files
- Ensuring sufficient free space on the destination drive for the entire volume
If you suspect the enclosure’s power delivery is inconsistent, switch to a self-powered hub or directly connect it to a mains-powered adapter. Unstable voltages can exacerbate issues and render some sectors unreadable.
Choosing the Right Recovery Software
Not all tools are created equal. The effectiveness of a recovery program depends on the specific failure scenario and the drive’s technology (HDD vs. SSD). Below are categories of software to consider:
- Partition Recovery utilities that reconstruct lost or deleted partitions
- Raw sector scan tools to identify and salvage fragmented data
- Imaging tools that create an exact clone for offline recovery attempts
- Specialized SSD recovery software adept at handling wear-leveling and TRIM commands
- Forensic-grade applications suited for encrypted or formatted drives
When evaluating a recovery suite, look for features such as read-only scanning, preview of recoverable files, and support for various file systems (NTFS, exFAT, HFS+, ext4). Free trials can help you assess compatibility without financial commitment.
Key Features to Compare
- Support for both HDD and SSD media
- Ability to pause and resume long scans
- S.M.A.R.T. monitoring for drive health insights
- Deep vs. quick scan modes
- Customer support and frequent updates
Step-by-Step Guide to Recovering Files
This section outlines a generic workflow suitable for most logical failures. Always adapt steps based on your drive’s condition and the selected software’s interface.
1. Create a Disk Image
- Launch your imaging tool and select the source (the enclosure’s drive).
- Choose a destination on a stable internal or external drive.
- Use a sector-by-sector clone option to capture every bit, including bad sectors.
- Verify the integrity of the image using checksums or verification features.
Imaging protects the original drive from further wear and ensures you can retry recovery if initial attempts fail.
2. Analyze the Disk Image
- Load the image file into your recovery software in “read-only” mode.
- Perform a quick scan to identify recently deleted files and basic directory structures.
- If the quick scan yields insufficient results, proceed with a deep or raw scan.
- Filter results by file type or size to narrow the list of candidates.
3. Recover and Validate Files
- Select the files or folders you wish to restore.
- Designate a recovery path on a different physical drive to avoid overwriting.
- After recovery, inspect files for corruption—open documents, play audio/video.
- Use checksum comparison against any existing hashes to confirm accuracy.
Whenever possible, recover file metadata (timestamps, attributes) to preserve authenticity. Some advanced utilities allow you to reconstruct folder hierarchies and original names.
4. Address Persistent Read Errors
Encountering unrecoverable sectors is common with aging drives. To mitigate loss:
- Run a specialized bad-sector remapping tool within the enclosure’s firmware if supported.
- Use cloning software that retries reads with adaptive timeouts.
- Consider sending the drive to a professional lab for physical platter extraction.
Best Practices and Preventive Measures
Recovery is often time-consuming and never guaranteed at 100%. Minimizing future risks involves adopting robust strategies:
- Implement the 3-2-1 rule: at least three copies of data, on two different media, with one offsite.
- Schedule periodic health checks using S.M.A.R.T. tools to detect early signs of failure.
- Encrypt sensitive data to thwart unauthorized access but maintain secure key backups.
- Maintain updated firmware for your enclosures and docking stations.
- Regularly test your backup and recovery procedures to confirm they work as expected.
By combining proactive maintenance with reliable recovery solutions, you can transform a potential data loss disaster into a manageable challenge.