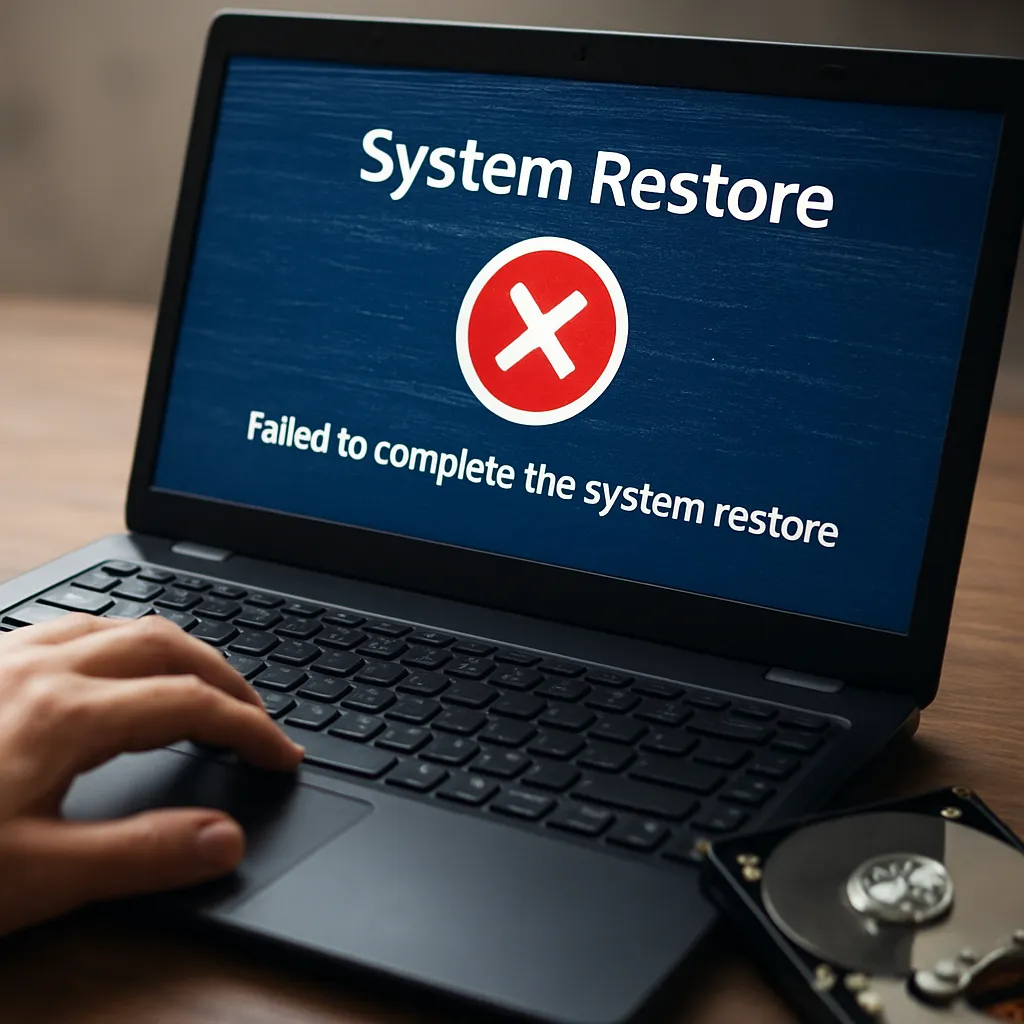
Retrieving data from an old PC hard drive can feel like a daunting task, especially when the drive shows signs of physical wear or logical corruption. However, with the right approach and tools, you can recover valuable documents, photos, and project files. This guide covers essential steps for successful file retrieval, focusing on reliable recovery techniques and best practices for maintaining data integrity.
Choosing the Right Recovery Software
Selecting a dependable recovery application is the first critical step. High-quality tools offer features like disk image creation, read-only access modes, and advanced file system support. Consider these factors:
- Compatibility: Ensure the software supports the specific file systems (NTFS, FAT32, exFAT) used on your old drive.
- Imaging Capabilities: Look for sector-by-sector cloning to protect the original disk.
- Preview Features: The ability to preview recoverable files helps confirm the correct content before retrieval.
- User Interface: A clear, guided workflow can simplify complex recovery tasks.
- Support and Documentation: Active user communities and detailed manuals are valuable when troubleshooting errors.
Preparing Your Old Hard Drive for Retrieval
Before diving into software operations, take time to prepare the hardware properly. This involves:
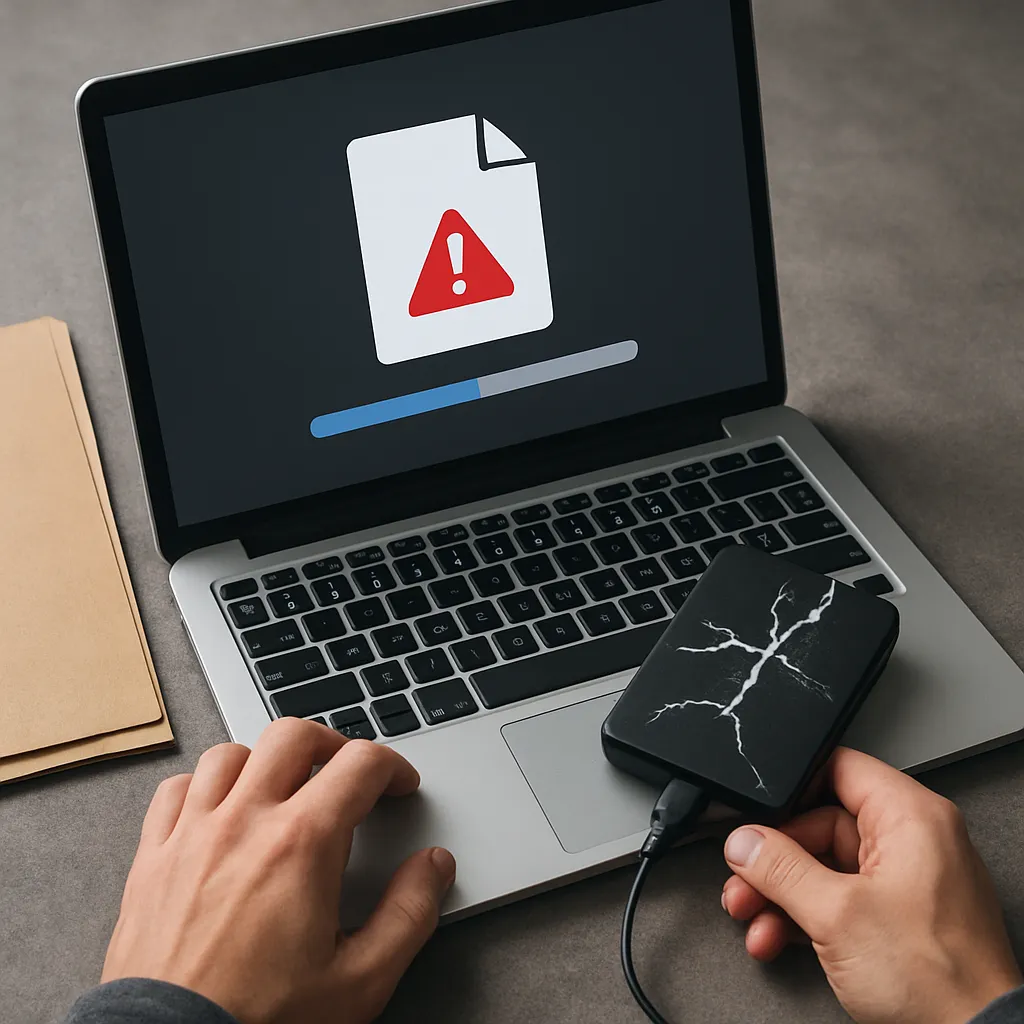
- Physical Inspection: Check the drive for any unusual noises or visible damage. Sudden grinding or clicking requires a professional’s help.
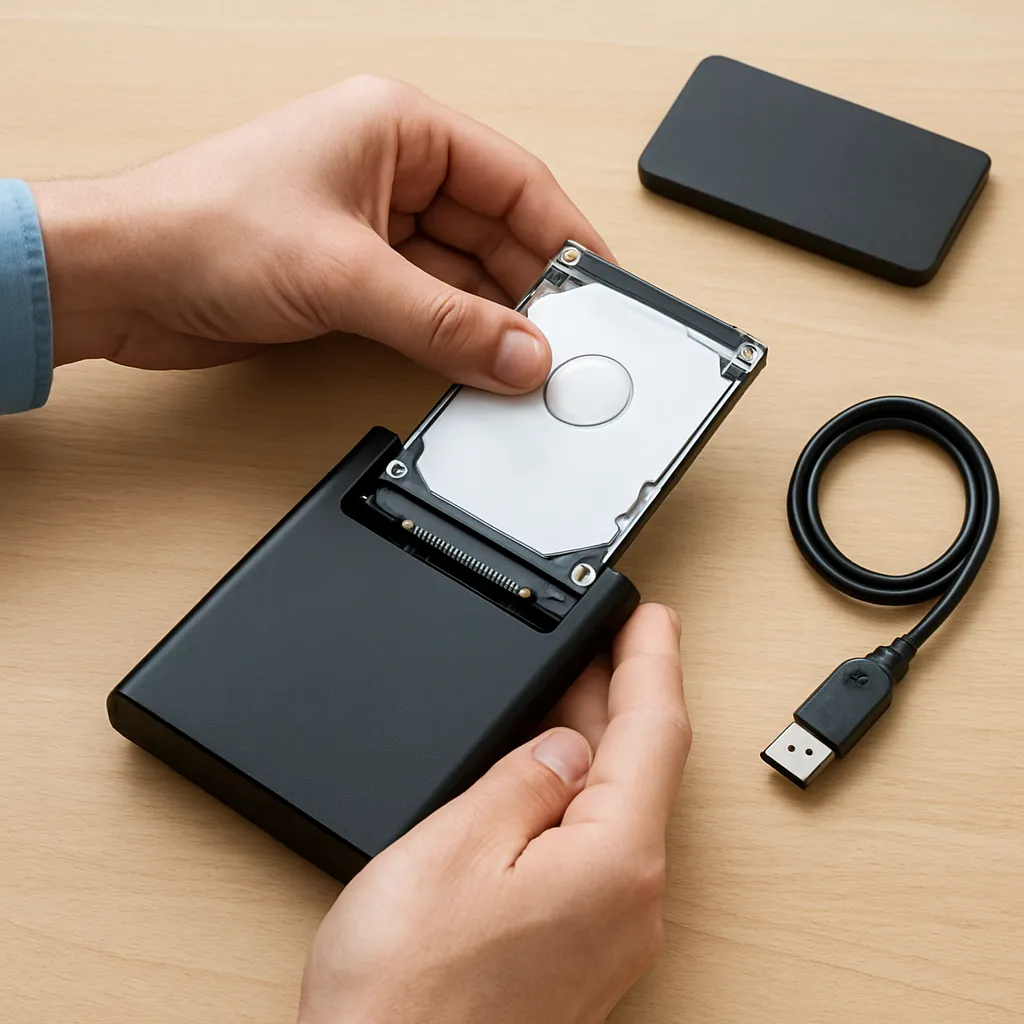
- Proper Connection: Use a USB-to-SATA/IDE adapter or an external drive enclosure. This allows for a read-only connection to prevent accidental writes.
- Stable Power Supply: A powered USB hub or an external PSU can avoid voltage fluctuations that exacerbate drive issues.
- Clean Environment: Work in a dust-free, static-safe area to minimize the risk of further damage.
Performing a Disk Image Backup
Creating a complete image of your old drive is the safest way to avoid data loss. This process, sometimes called cloning, captures every sector on the disk:
- Choose an Image Format: Raw (DD) or proprietary formats like E01. Raw images are universally compatible but larger.
- Select a Destination Drive: Use a healthy disk with enough free space. The image file must accommodate the entire source capacity.
- Initiate Sector-by-Sector Copy: This method replicates even unallocated sectors, preserving remnants of deleted files.
- Verify the Image: Many tools offer a checksum or hash comparison to confirm integrity.
Working from the image file rather than the original drive reduces wear and the risk of catastrophic failure.
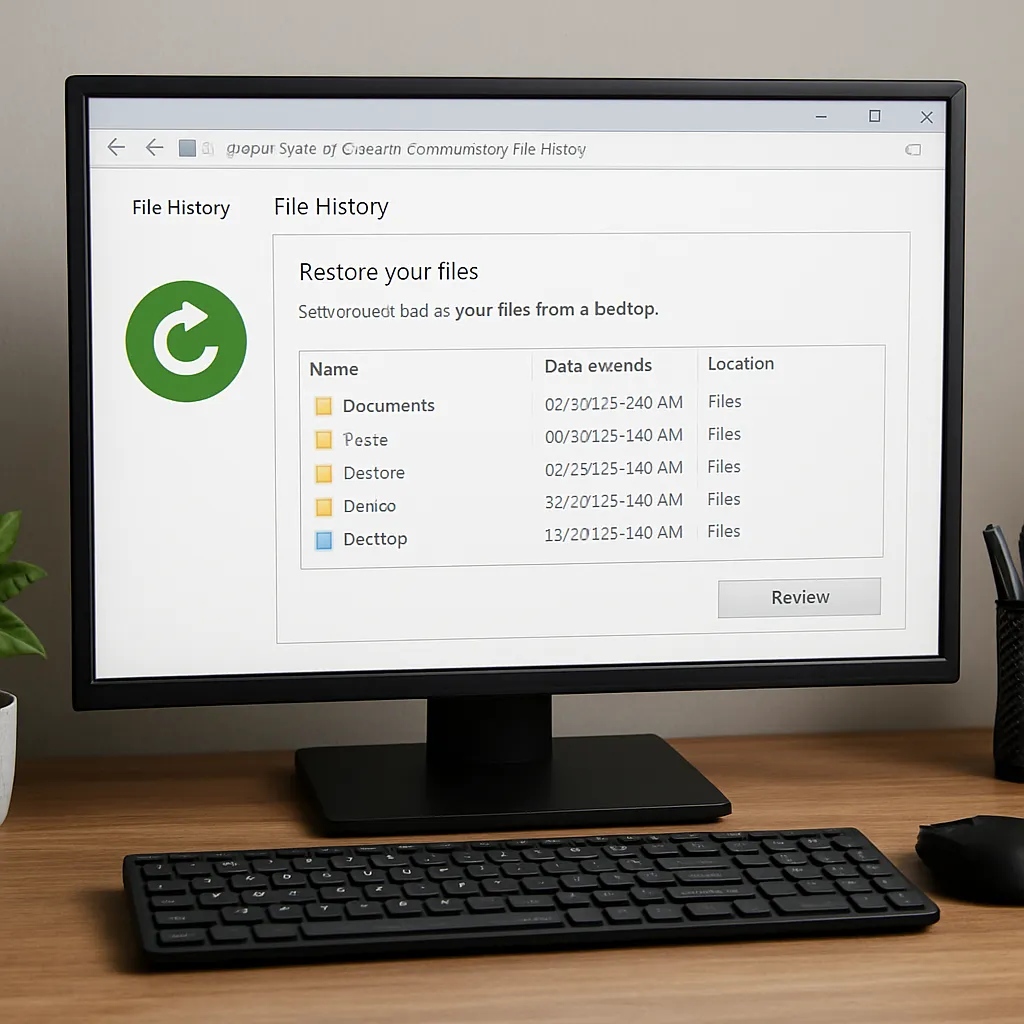
Scanning and Recovering Deleted Files
With a disk image in hand, launch your chosen recovery software and begin a thorough scan:
Quick vs. Deep Scan
- Quick Scan: Analyzes file tables for recently deleted entries. Faster but may miss older data.
- Deep Scan: Performs sector-level analysis and file carving, reconstructing files based on known signatures.
Filtering Results
- File Type Filters: Narrow down by extension (e.g., .docx, .jpg) to speed up the process.
- Date and Size Range: Focus on specific time periods or file sizes to isolate relevant content.
Preview and Select
Use the preview feature to verify that images open correctly and documents display readable text. Mark only the files you truly need to avoid overwhelming your destination drive.
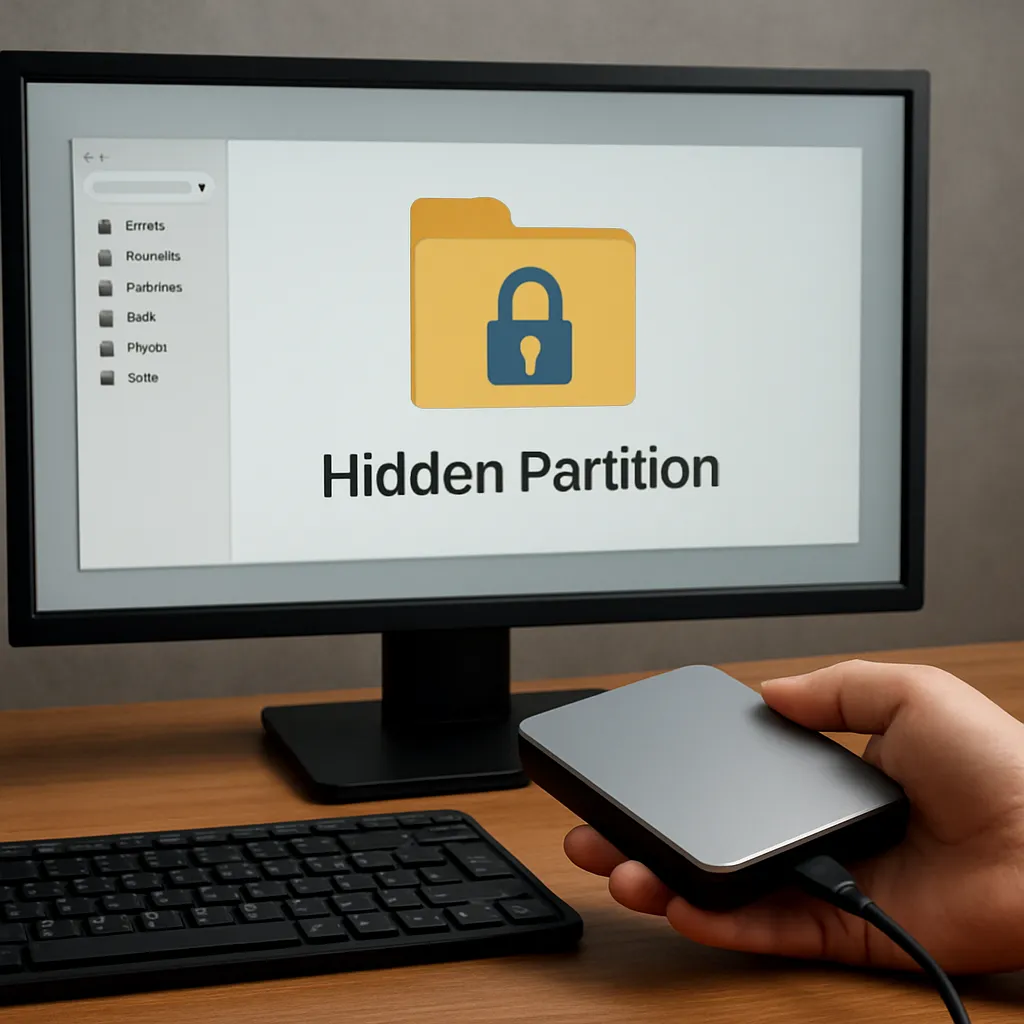
Handling Corrupted File Systems
If the partition table or file system structures are damaged, standard scans may falter. Here are advanced tactics:
- Partition Recovery: Some utilities can detect and restore lost partitions by scanning for partition table signatures.
- File System Repair: In safe mode, run tools like chkdsk (Windows) or fsck (Linux) on a copy of the image to reconstruct directory entries.
- Manual HEX Analysis: Expert users can inspect and repair file system metadata with a hex editor. This step demands precision and carries higher risk.
Advanced Techniques and Tips
When basic methods don’t yield satisfactory results, consider these expert-level strategies:
- Use Multiple Software Solutions: Different tools excel at various recovery scenarios. Compare outputs to maximize retrieval chances.
- Enable Bad Sector Handling: Some programs can bypass or re-read damaged sectors multiple times to salvage data.
- Prioritize Critical Data: Recover irreplaceable files first to avoid running out of storage on your target drive.
- Maintain an Audit Trail: Document every action with timestamps and logs, especially important for forensic investigations.
- Professional Services: If hardware faults are severe, laboratory repair facilities can replace read/write heads or perform platter swaps.
Applying these advanced strategies will help you overcome even the most stubborn data loss scenarios. Patience and methodical testing ensure the highest recovery rates while safeguarding your original media.