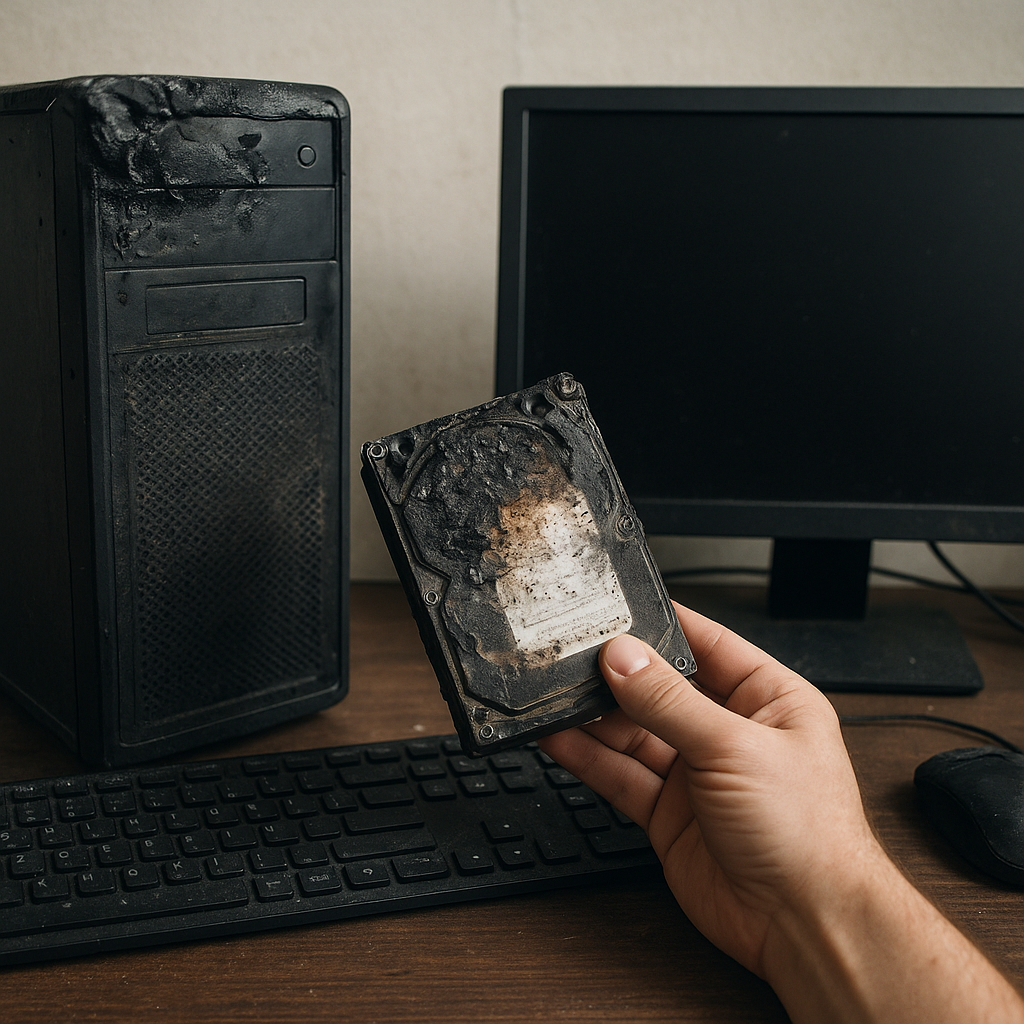
File loss can be a daunting experience, especially when crucial documents, cherished photos, or important work files vanish from a failing laptop drive. Fortunately, by connecting the problematic device to a healthy computer and using reliable recovery tools, you can often restore lost data without professional intervention. This guide walks you through each stage of retrieving files from a laptop’s hard disk on another PC, ensuring you understand the process and choose the best solutions.
Understanding the Basics of Hard Drive Recovery
Before diving into the technical steps, it helps to grasp the fundamentals of how data is stored and why it sometimes becomes inaccessible. A laptop’s storage device—be it HDD or SSD—organizes data into sectors and clusters managed by the operating system’s file system. When files are deleted, the system merely marks those sectors as available, but the actual content remains until overwritten. Mechanical failures, accidental formatting, logical errors, or virus attacks can render a drive corrupted and invisible to your laptop’s native tools.
Most recovery solutions operate in one of two modes:
- Quick Scan: Locates recently deleted entries in the file allocation table. Fast but less effective on seriously damaged drives.
- Deep Scan: Analyzes every sector for file signatures. Slower but capable of retrieving data even after formatting or heavy corruption.
By understanding the difference between these scan methods, you can select the right approach for your specific scenario.
Preparing to Connect Your Laptop Drive to Another PC
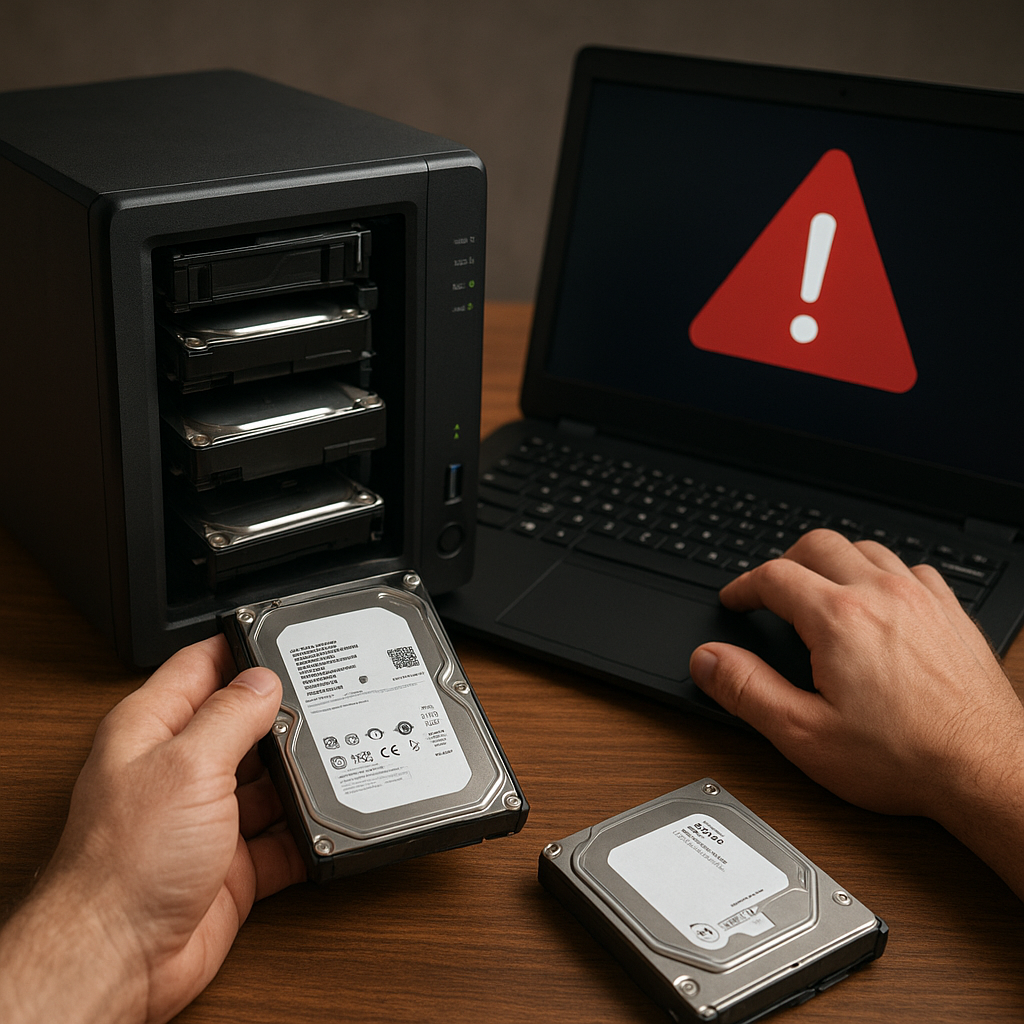
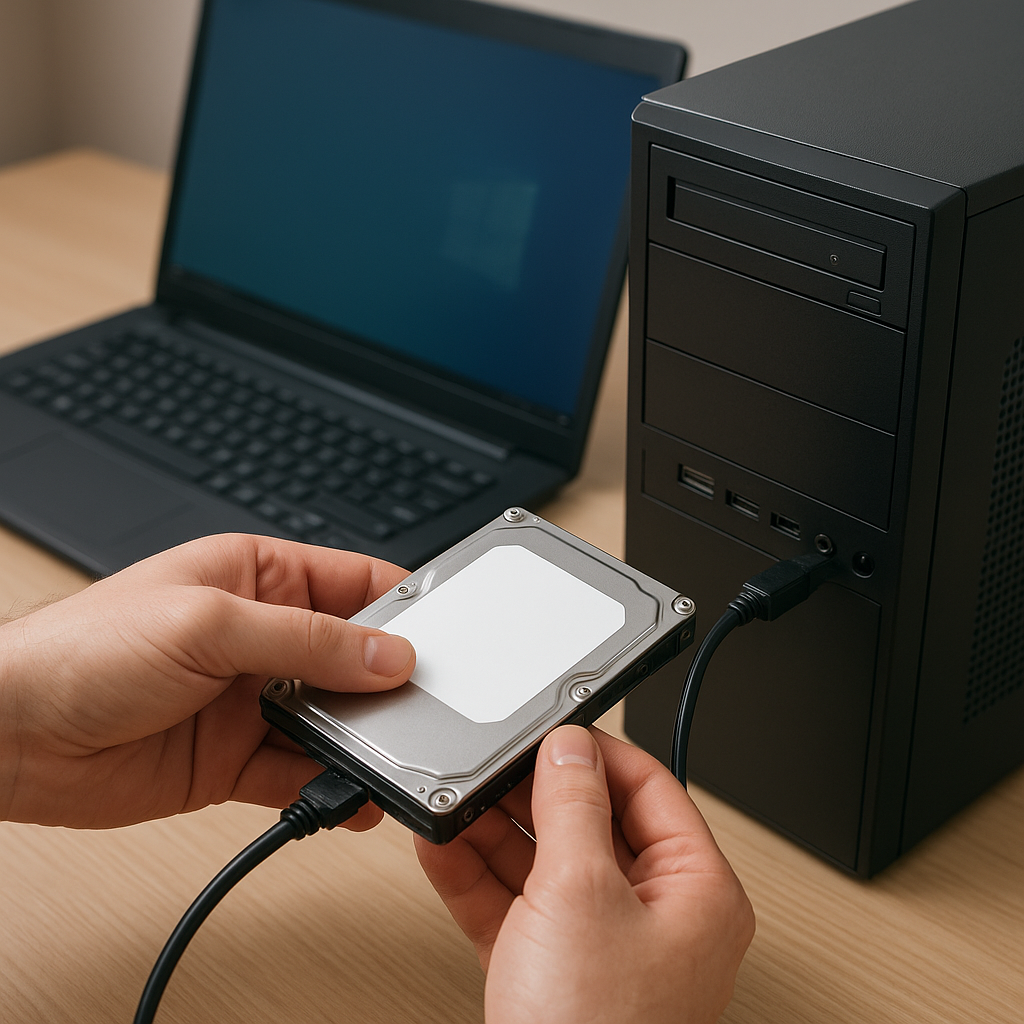
Handling a removed laptop drive requires proper hardware to avoid further damage and to ensure safe access from a secondary computer. Follow these preparation steps:
- Power Down both machines and discharge any static electricity by touching a grounded metal surface.
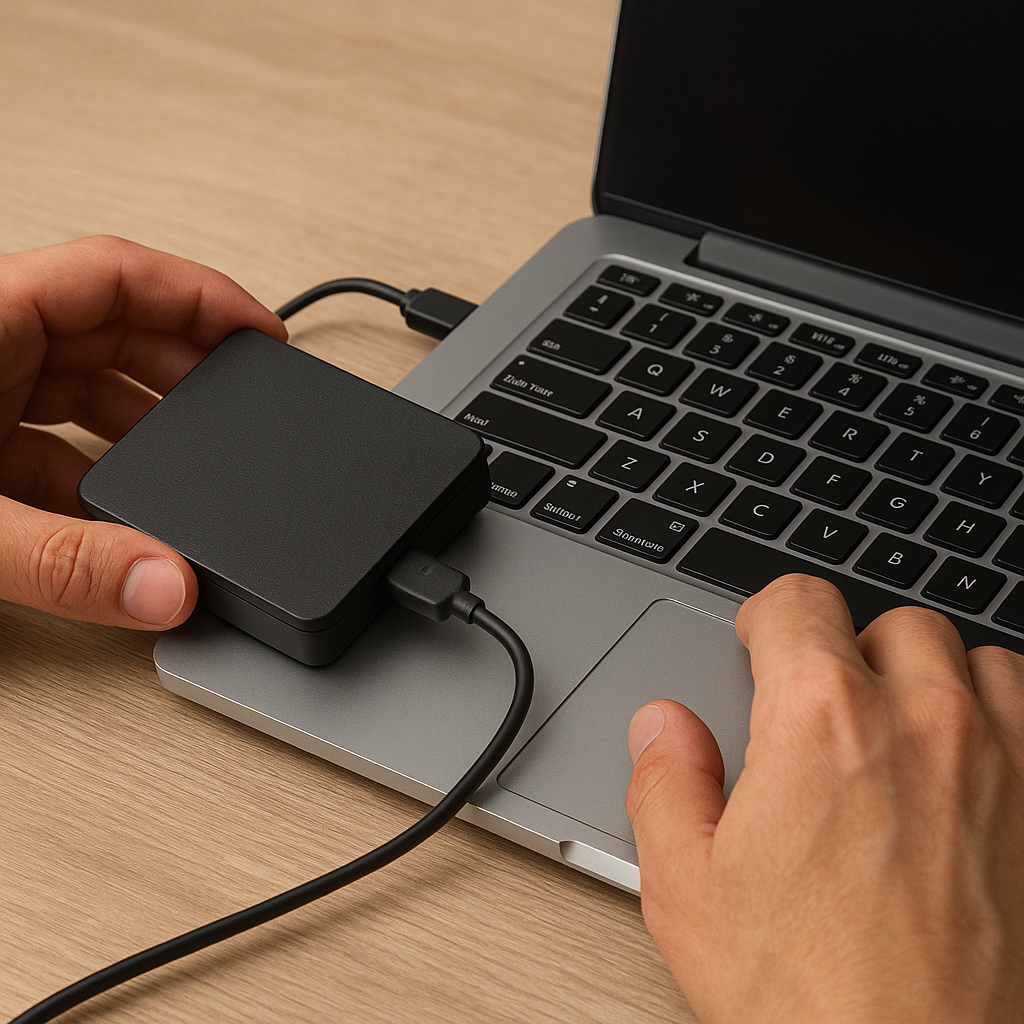
- Obtain a compatible USB adapter or docking station that supports your drive’s interface (SATA, IDE, or NVMe).
- Attach the drive securely, ensuring no loose connections. A stable link prevents disconnections during the recovery process.
- Boot the host PC and verify the system recognizes the external drive without mounting it automatically.
If the drive appears in the disk management utility but is inaccessible through Windows Explorer, you’re ready to install recovery software. Avoid making any changes to the damaged drive’s partition table or formatting it before recovery, as this can overwrite residual data.
Choosing the Right Recovery Software
The market offers many recovery tools, each varying in price, features, and ease of use. When evaluating options, consider these key aspects:
- User-friendly interface: Simplifies navigation and reduces risk of incorrect operations.
- Supported file types: Ensures compatibility with documents, images, videos, archives, and more.
- Advanced scanning algorithms for both quick and deep searches.
- Preview capability for found files before you commit to recovery.
- Recovery to a different storage device to preserve the integrity of the damaged drive.
Some popular solutions include EaseUS Data Recovery Wizard, Recuva, and Disk Drill. Always download from official sources to avoid bundled malware and ensure you have the legitimate, fully supported application.
Step-by-Step Recovery Process
1. Launch and Select the External Drive
After installing the chosen software on your host PC, open it and locate the list of available drives. Identify your laptop’s disk by its size and interface type. Do not choose the system partition on the host machine.
2. Choose Scan Mode
Begin with a Quick Scan to recover recently deleted files. If that yields insufficient results, switch to a Deep Scan. While deep scans are time-consuming, they deliver the most comprehensive recovery by analyzing every sector for recognizable file signatures.
3. Preview and Select Files
Once scanning finishes, the software will display a tree of recoverable items. Use the built-in preview feature to inspect documents, images, or videos and confirm they are intact. This helps you avoid cluttering your destination drive with useless or partly corrupted files.
4. Recover and Save
Highlight the items you wish to restore and click the save button. Always specify a location on a different physical drive than the source. This precaution maintains the integrity of your original data and prevents accidental overwriting. After completion, verify that each recovered file opens correctly.
Tips to Ensure Successful Restoration
Recovery success often hinges on careful handling and informed choices. Keep these best practices in mind:
- Stop using the failing laptop immediately after data loss to avoid overwriting recoverable sectors.
- Work on a clone of your drive if possible. Disk cloning tools create an exact image, allowing you to attempt recovery without touching the original hardware.
- Maintain backups of critical data in the future, using external drives or cloud services, to reduce reliance on emergency recovery tools.
- Update recovery software regularly to benefit from improved scanning algorithms and new file signature definitions.
- Consider professional services only if the drive has severe physical damage, as amateur attempts could worsen the condition.
By following this structured approach—preparing your hardware, choosing robust software, and carefully executing scan and restore steps—you maximize the chance of retrieving your lost files with minimal stress and cost.