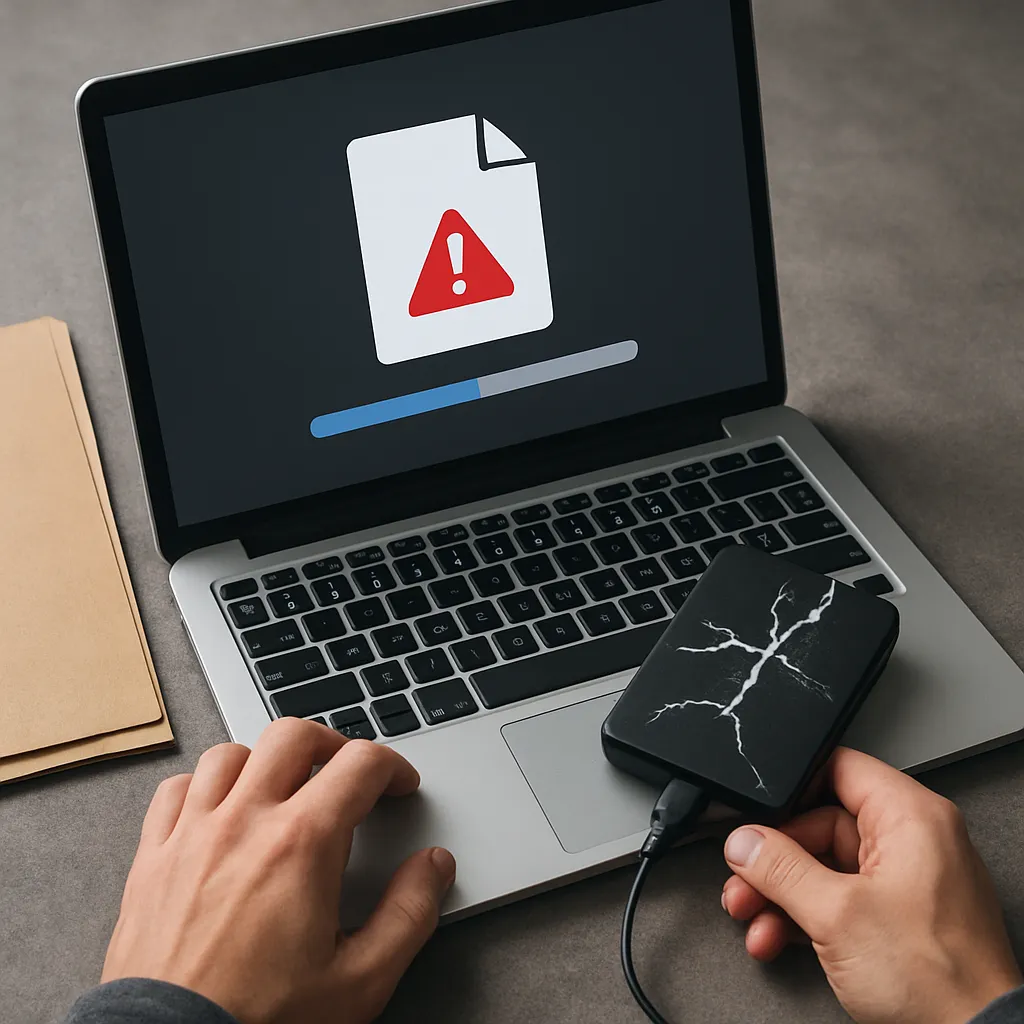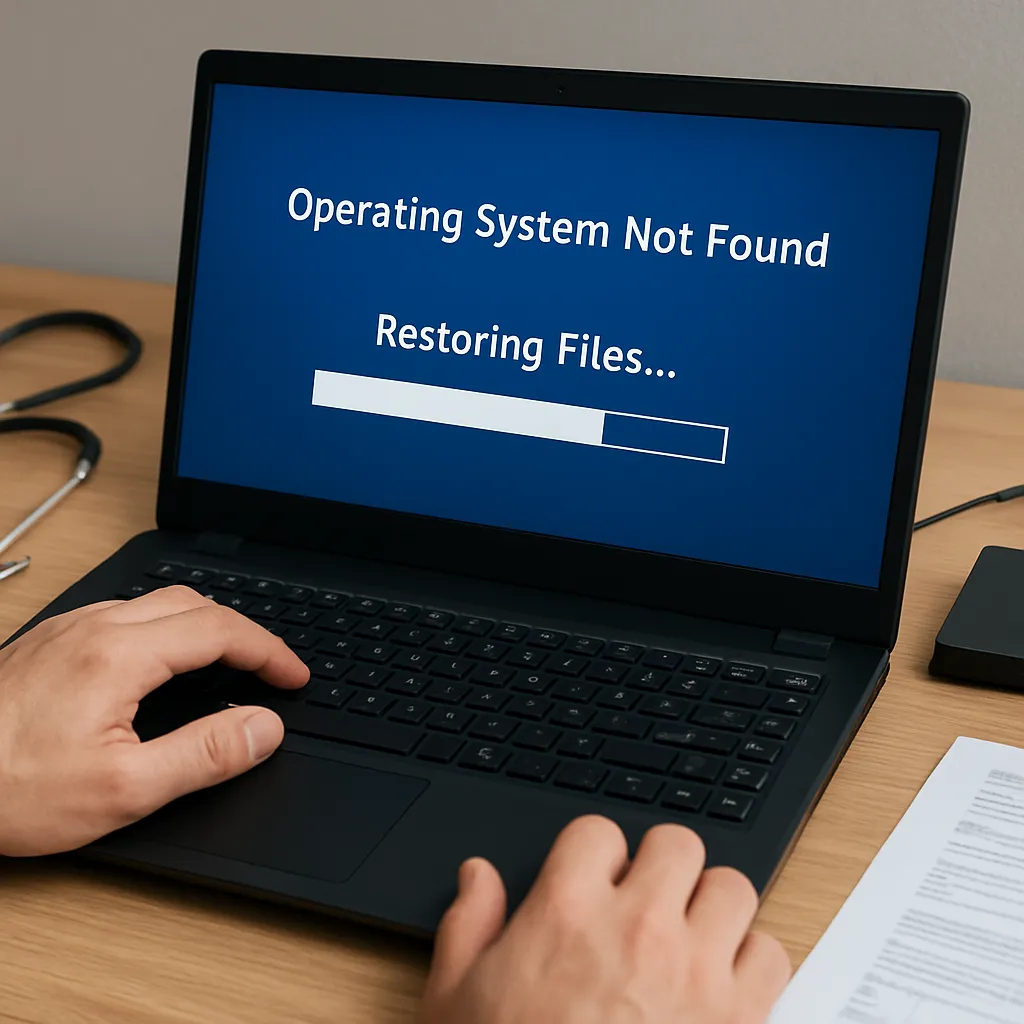
Recovering files from a damaged SSD can seem daunting, but with the right approach and tools, you can often salvage critical data. This article will guide you through the essential concepts, preparation steps, and practical techniques to maximize your chances of success. By focusing on reliable data recovery strategies and leveraging specialized recovery software, you’ll be able to tackle a failing SSD with confidence.
Understanding SSD Failures
Solid-state drives (SSDs) differ significantly from traditional hard drives, both in architecture and failure modes. Recognizing the unique challenges of SSD recovery is the first step toward retrieving your valuable data.
Common Causes of SSD Damage
- Firmware corruption: A corrupted firmware can render the SSD inaccessible, preventing the controller from managing the flash memory properly.
- Electrical issues: Power surges or faulty power supplies can damage the SSD’s internal circuitry.
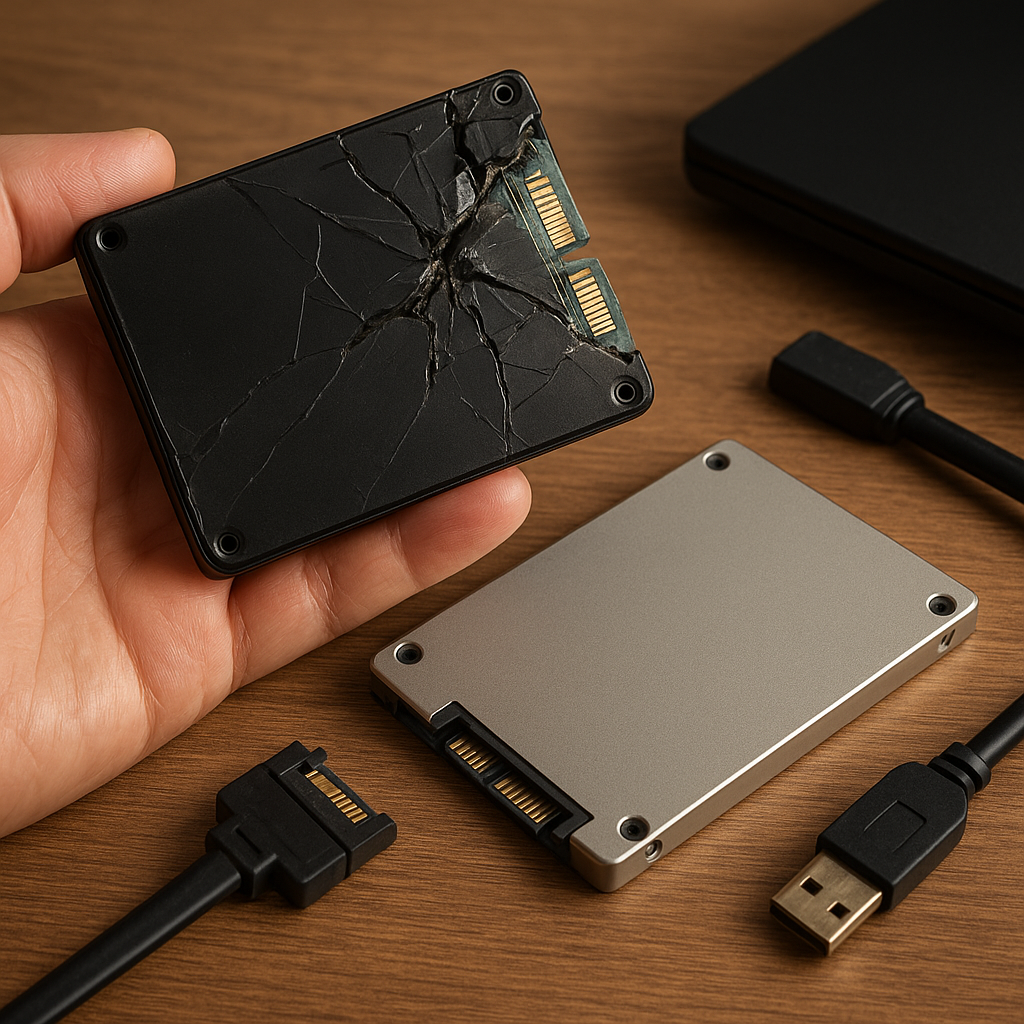
- Physical shocks: Although SSDs have no moving parts, severe impacts can harm the PCB or internal solder joints.
- Wear leveling exhaustion: Flash cells have limited write cycles. Intensive writes over time can exhaust these cycles, leading to bad blocks.
- Controller failure: The SSD controller handles wear leveling, error correction, and TRIM commands. Controller failure often makes the drive inaccessible.
Why SSD Recovery Is Unique
Unlike HDDs, SSDs make use of TRIM commands to maintain performance. Once data is trimmed, it’s often irrecoverable. Additionally, the wear leveling process scatters data across multiple memory cells, complicating traditional imaging techniques. Understanding these factors will help you choose the correct recovery strategy and software.
Preparing for Data Recovery
Before attempting any recovery action, it is crucial to take precautionary steps that will optimize your chances of success and safeguard the remaining integrity of your SSD.
1. Stop Using the SSD
Every write operation can reduce the chances of recovering existing files. Immediately power down the system or disconnect the SSD to prevent further writes or corruption.
2. Create a Disk Image
Working on a clone image rather than the original device helps preserve the SSD’s current state. To make an image:
- Connect the failing SSD to a stable host via a USB-to-SATA/PCIe adapter.
- Use imaging tools (for example, ddrescue on Linux or dedicated imaging modules in professional recovery suites) to perform a sector-by-sector copy.
- Store the image on a reliable backup drive with ample free space.
Cloning ensures that any incorrect action or software crash won’t further damage the source drive.
3. Analyze the SSD’s Health
Use SMART monitoring tools (such as smartctl or Windows Disk Management utilities) to gather key metrics like:
- Power-on hours
- Reallocated sector count
- Erase failures
- Wear leveling count
This diagnostic data helps determine if you’re dealing with a software-level issue (e.g., file system corruption) or a hardware-level failure requiring professional assistance.
Step-by-Step Recovery Process
Once you’ve prepared your clone and assessed the SSD’s condition, follow a structured recovery workflow. This ensures that you apply the most effective methods first and escalate only if needed.
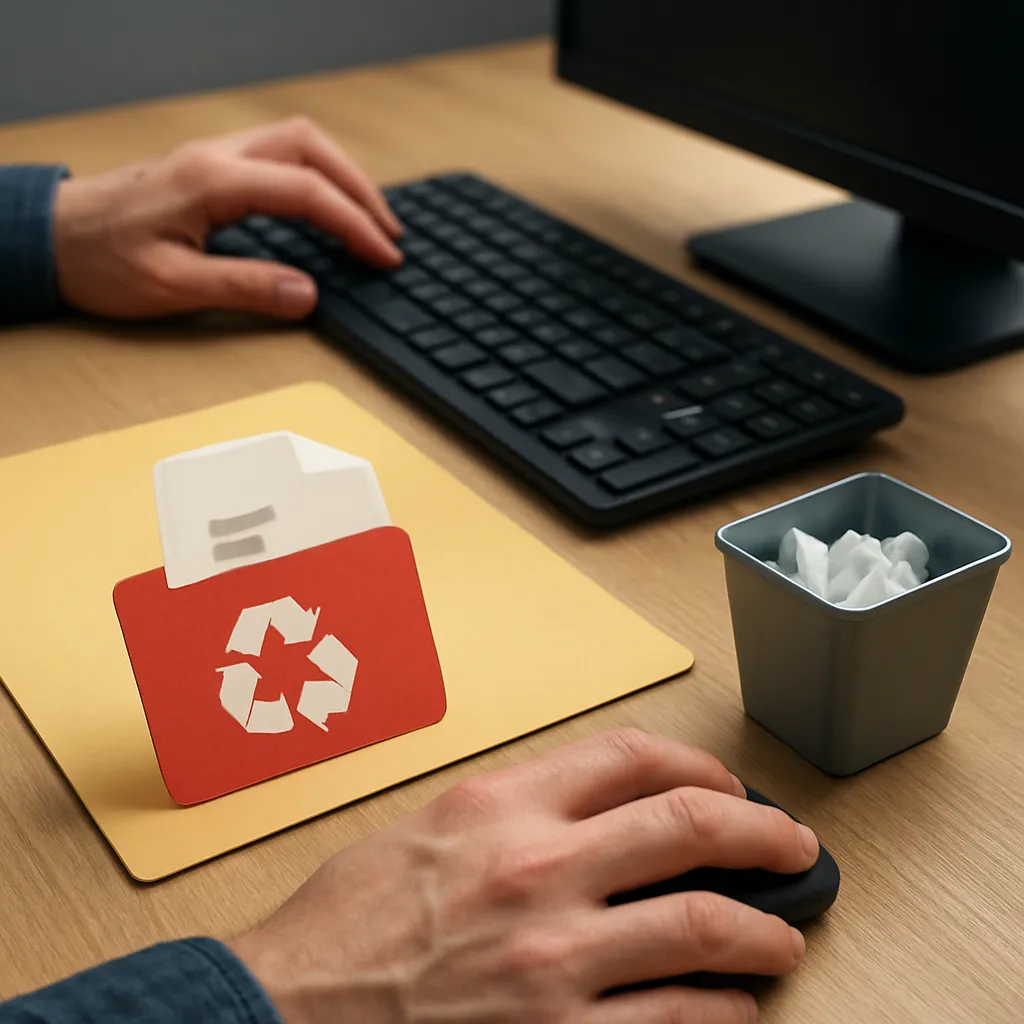
1. Software-Based File Recovery
If the SSD is recognized by your operating system and the partition table is intact, begin with a non-intrusive software scan:
- Choose reputable recovery software that supports SSDs and various file systems (NTFS, exFAT, EXT4, APFS).
- Perform a quick scan to locate recently deleted files and shallow directory structures.
- If the quick scan yields insufficient results, run a deep scan or RAW recovery to search for file signatures.
- Preview recoverable files and export them to a separate healthy drive to avoid overwriting.
This approach often retrieves accidentally deleted files or corrupted directories without touching low-level firmware areas.
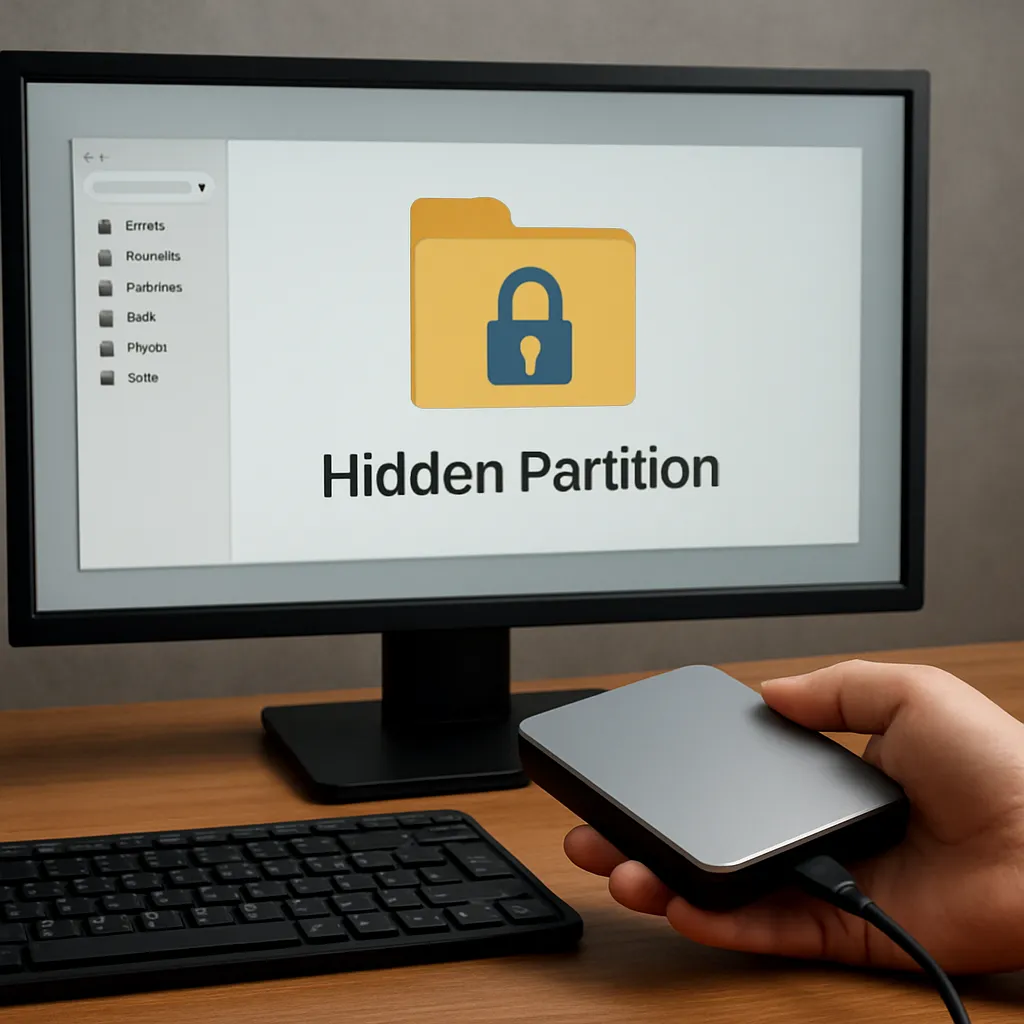
2. Repairing File System Corruption
When directory structures or partition tables are damaged, standard recovery tools might fail. In such cases:
- Use disk repair utilities (such as chkdsk on Windows or fsck on Linux) on the cloned image.
- Run specialized partition recovery tools to rebuild the table and recover lost partitions.
- Once the file system is repaired, re-scan with file recovery software to extract files.
Always work on the image, never on the original SSD, to prevent irreversible changes.
3. Firmware Restoration
If diagnostics indicate a firmware fault:
- Consult the SSD manufacturer’s service tools or firmware update utilities.
- Attempt to reflash the firmware in a controlled environment, following official guidelines.
- After reflashing, reattach the drive and re-run file recovery scans.
Firmware issues often require precise vendor-specific procedures. If you lack experience, consider professional help to avoid bricking the drive.
Advanced Techniques and Tools
When standard procedures fail, advanced methods can unlock additional recovery potential. These techniques demand specialized hardware and expertise but can be crucial for critical data retrieval.
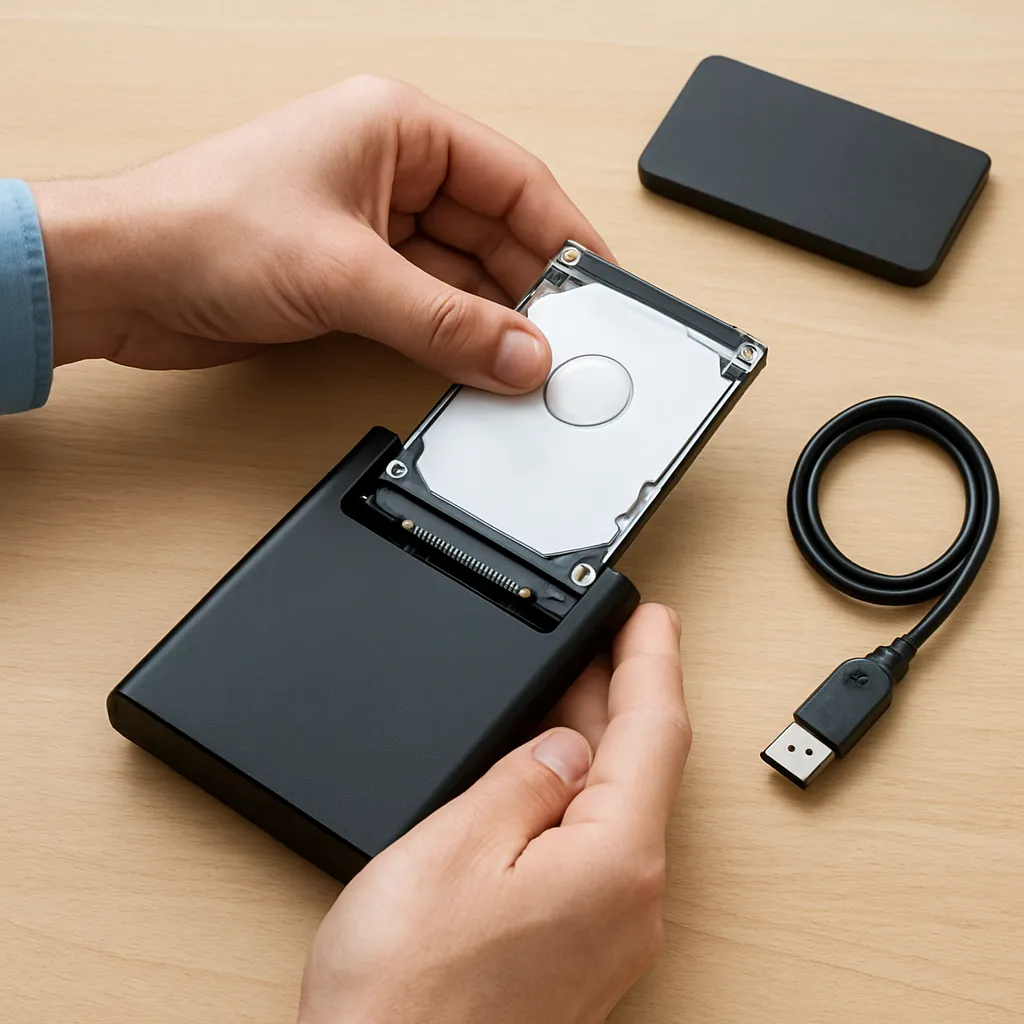
1. NAND Chip-Off Recovery
This hardware-level method involves desoldering the memory chips from the SSD’s PCB:
- Use hot air stations and precise desoldering tools to remove NAND chips without damage.
- Read raw data from each chip using a NAND programmer.
- Reconstruct the dispersed data blocks by applying the SSD’s wear leveling and error correction algorithms.
NAND chip-off is complex and time-consuming. It typically requires specialized labs and expertise in flash memory architecture.
2. JTAG Recovery
Joint Test Action Group (JTAG) recovery taps directly into the SSD’s controller interface:
- Identify the JTAG pins on the SSD PCB using schematics or reverse engineering.
- Connect a JTAG debugger to extract firmware, configuration data, and raw flash contents.
- Parse the raw data stream and rebuild the file system structures.
JTAG is less invasive than chip-off but still requires deep knowledge of electronics and low-level protocols.
3. Professional Recovery Services
When all else fails or the data is extremely critical, sending the SSD to a certified data forensics lab is the safest route. Professional services offer:
- Cleanroom environments for delicate hardware operations.
- Access to proprietary tools for firmware repair and NAND-level recovery.
- Guaranteed confidentiality and chain-of-custody for sensitive data.
Although costly, these experts maximize recovery chances and minimize the risk of permanent data loss.
Preventing Future Data Loss
Once you’ve successfully recovered your files, implement robust measures to protect against future SSD failures:
- Maintain regular, automated image backup routines to an external RAID array or cloud service.
- Monitor SSD health continuously using SMART alerts.
- Keep your firmware and recovery tools up to date.
- Enable secure erase features cautiously and ensure you have backups before any major maintenance.
By combining proactive monitoring with reliable backups, you can mitigate the impact of potential SSD issues and ensure your data remains safe.