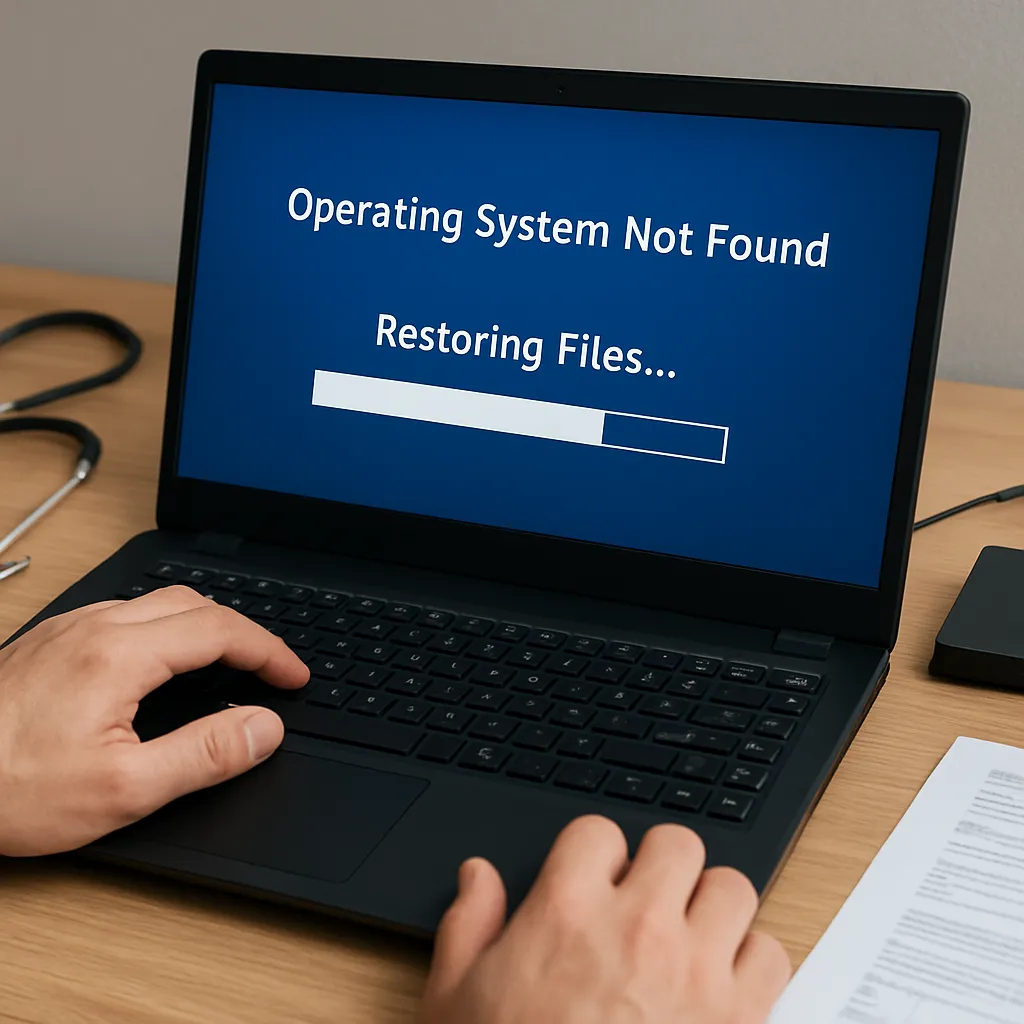
Experiencing a sudden crash on your Apple computer can be alarming, especially when critical files seem inaccessible. This comprehensive guide walks you through the process of file recovery on MacOS after a severe system failure, covering both built-in utilities and third-party solutions. By following these steps, you’ll regain access to your precious data and reinforce your system for future emergencies.
Understanding MacOS Crash Scenarios
Common Causes of File Loss
Before diving into solutions, it’s crucial to identify what triggers a MacOS crash and potential file corruption:
- Hardware issues: aging HDDs, failing SSD cells, or malfunctioning memory modules.
- Software conflicts: incompatibilities after a system or application update.
- File system errors: corrupted journaled HFS+ or APFS partition structures.
- Power failures: abrupt shutdowns without a proper save or Hibernate.
- Malware and viruses: rare on MacOS but still capable of targeting critical files.
Signs That Files May Be Recoverable
Spot these indicators early to boost your chances of successful recovery:
- Disk Utility still mounts the drive, even as read-only.
- Time Machine snapshots exist and show recent backups.
- Disk S.M.A.R.T status reports “Failing” but disk remains accessible.
- Finder or Terminal can list files, though they may be unreadable.
Preparing for a Reliable Recovery
Isolating the Affected Drive
Immediately power down your Mac to prevent further damage. Remove the drive (if external) or boot into Internet Recovery (Command-Option-R). This ensures the system won’t overwrite lost files during normal operations.
Creating a Disk Image for Safety
Working on a clone rather than the original disk preserves vital sectors and prevents accidental overwrites. You can generate a disk image using Terminal:
sudo asr -source /dev/diskXsY -target ~/Desktop/recovery.dmg -erase
Be sure to replace diskXsY with the appropriate identifier from diskutil list. This image becomes your working copy for all subsequent scan and recovery steps.
Assessing Drive Integrity
Utilize Disk Utility’s First Aid or Terminal’s fsck for a quick health check:
- Disk Utility: open from Recovery Mode and click First Aid on the disk.
- Terminal:
sudo fsck_apfs -n /dev/diskXsYfor APFS drives.
A read-only check helps you decide whether to attempt repairs or proceed directly to file extraction.
Executing Data Retrieval Strategies
Using Built-In MacOS Tools
MacOS provides several standard methods to recover files without additional downloads:
- Time Machine: Navigate to the Finder, select Enter Time Machine, and restore individual files or entire directories.
- Finder’s Version History: Right-click on supported documents (Pages, Keynote, etc.) and choose Revert To > Browse All Versions.
- Target Disk Mode: Connect two Macs via Thunderbolt/FireWire, boot the problematic Mac while holding T, and access its drive as an external volume.
Deploying Third-Party Recovery Software
When built-in utilities fall short, specialized applications offer deeper sector scans and raw file recovery modes:
- Disk Drill: User-friendly interface, preview recovered files, supports APFS/HFS+.
- Data Rescue: Advanced file signature library, professional-grade scan options.
- R-Studio for Mac: Robust RAID reconstruction and file carving for complex setups.
Most tools follow a similar workflow: select the target disk or disk image, choose Quick or Deep scan, preview recoverable files, and export to a safe destination.
Deep Scan vs. Quick Scan
Understanding the distinction helps optimize recovery time:
- Quick Scan: recovers recently deleted entries using file system metadata. Ideal for minor deletions or soft crashes.
- Deep Scan: parses raw sectors searching for known file signatures. Essential when directory structures are lost or overwritten.
Be prepared for deep scans to take several hours on large drives.
Advanced Techniques and Long-Term Protection
Command-Line Tools for Expert Users
Power users can leverage Terminal-based solutions for granular control:
ddrescue: clones a failing disk while retrying bad sectors.photorec: part of TestDisk, focuses on recovering multimedia and document formats.gptandfdisk: rebuild corrupted partition tables manually.
Verifying and Validating Recovered Files
After extraction, ensure each file’s integrity before deletion of damaged originals:
- Open documents in native apps (Word, Excel, Preview).
- Use checksums like
md5orshasumto compare recovered and backed-up versions. - Preview images and multimedia in Quick Look (spacebar).
Implementing a Robust Backup Plan
Guard against future failures by combining multiple strategies:
- Time Machine backups on external HDD or network share.
- Cloud synchronization: iCloud Drive, OneDrive, or Google Drive for critical documents.
- Bootable clone: tools like Carbon Copy Cloner to maintain a ready-to-boot clone image on an external drive.
Monitoring Disk Health Proactively
- Install utilities such as DriveDx for real-time S.M.A.R.T. alerts.
- Schedule monthly checkups via Disk Utility or third-party tools.
- Replace aging drives before failure thresholds are reached.
Concluding Thoughts on Disaster Recovery
While a sudden MacOS failure can be stressful, understanding the right tools and techniques empowers you to reclaim lost files swiftly. Investing initial effort in a strong backup and monitoring routine transforms future incidents into minor setbacks rather than data catastrophes.