Recovering crucial documents and multimedia files after a malware cleanup can be a daunting task, but with the right tools and approaches, you can regain access to your data. This article explores proven methods to retrieve files, highlights key considerations for choosing recovery software, and offers advanced techniques for challenging scenarios.
Understanding the Impact of Malware Cleanup on File Accessibility
Background on Malware Removal Tools
Malware removal utilities are designed to identify and eliminate malicious code, but they may inadvertently delete or quarantine legitimate files. Many cleaners target suspicious executables and scripts without distinguishing system-critical data. When a file is flagged, it might be moved to a quarantine folder or permanently deleted, disrupting file pointers and directory structures.
How Malware Cleaners Affect File Pointers
File systems maintain a table of clusters and pointers. A thorough scan can overwrite or clear these pointers, rendering files inaccessible even if the raw data remains on disk. Understanding this mechanism is essential for planning a successful recovery, as recovery software often relies on residual file signatures and metadata to reconstruct lost entries.
Preventive Measures Before Initiating a Cleanup
- Maintain automated backup routines on local and cloud-based repositories, ensuring you have multiple restore points.
- Select a reputable malware cleaner with an option to review items marked for deletion before confirmation.
- Create a full volume snapshot or disk image if the tool supports a “dry run” mode to analyze potential file deletions.
- Verify storage device health using S.M.A.R.T. utilities to prevent simultaneous hardware failures during recovery.
Step-by-Step Guide to Recover Lost Files
Assessing the Damage
Begin by scanning your drives with a file integrity checker to identify missing or corrupt files. Note the number of deleted entries and their approximate locations. Document the file types most affected (e.g., documents, photos, videos), which will guide your choice of recovery algorithms.
Selecting Recovery Software
Choose a recovery suite that supports your file system (NTFS, FAT32, exFAT, ext4, APFS) and offers both quick and deep scans. Key features to look for include:
- Signature-based scan engines that detect file headers (e.g., JPEG, DOCX, MP4).
- Preview options to verify file integrity before committing to recovery.
- Selective restore capabilities to avoid overwriting other data.
- Support for external media and virtual disk images.
Performing the Scan
Install recovery software on a separate drive to prevent overwriting lost data. Initiate a quick scan to locate recently deleted items. If results are insufficient, transition to a deep scan, which examines raw disk sectors for file signatures. This process can be time-consuming but improves recovery rates significantly.
Evaluating Recoverable Data
Once the scan completes, filter results by file type, size, and creation date. Many tools categorize findings into folders such as “Deleted,” “Lost Partitions,” and “RAW Recovery.” Preview each file to confirm readability and completeness. Mark essential items for retrieval and exclude corrupted fragments to optimize storage usage.
Restoring Files Securely
Select an output destination on a separate drive to avoid data overwriting. Verify that file permissions and attributes are preserved during restoration. After recovering, run antivirus and integrity checks on the retrieved items to ensure they are free of residual malware and data corruption.
Advanced Techniques for Stubborn Cases
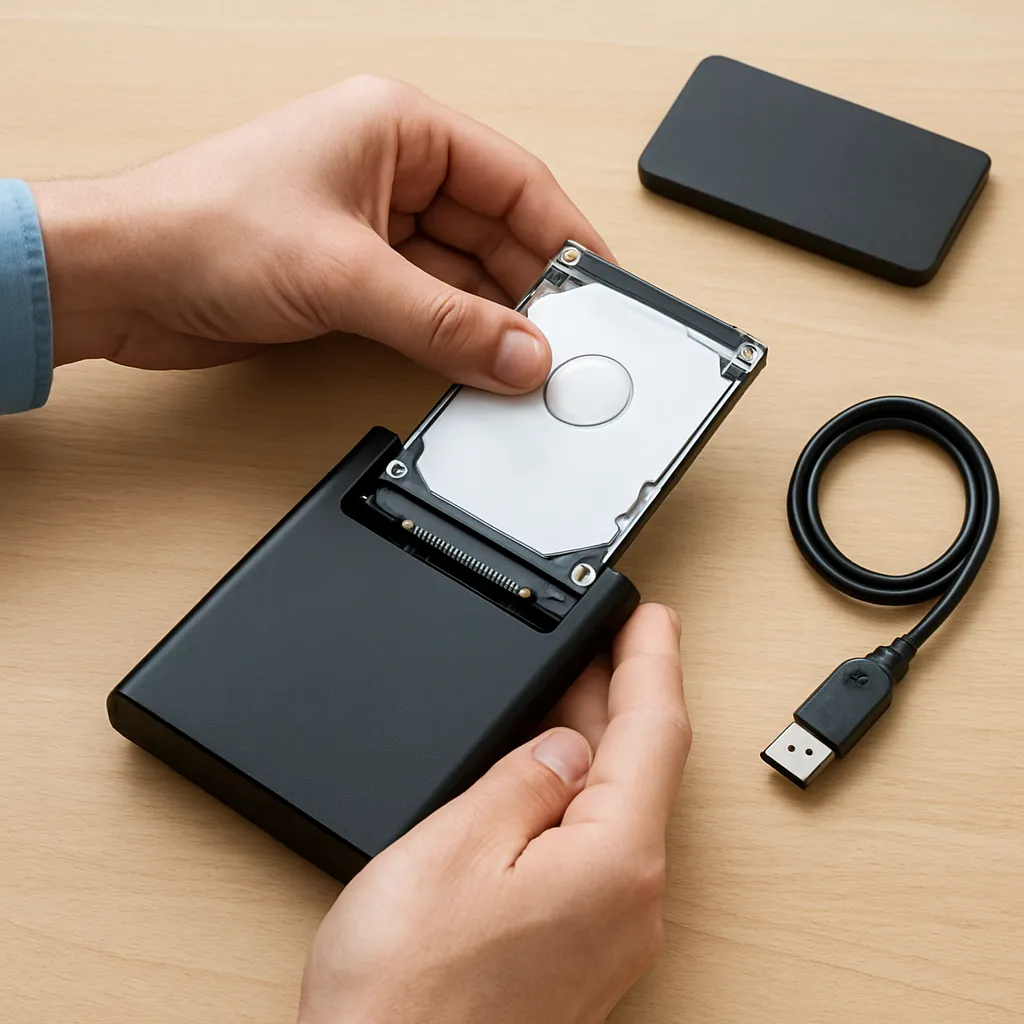
Using Disk Imaging
When direct recovery yields limited results, create a sector-by-sector disk image using tools like dd or specialized imaging software. Work on the cloned image to minimize risk to the original device. Imaging also allows you to retry scans with alternate algorithms or different recovery suites.
Command-Line Utilities
Expert users can employ command-line utilities such as PhotoRec, TestDisk, or Foremost. These tools leverage custom file signature libraries and advanced filtering options. While they require familiarity with terminal commands, they often outperform graphical interfaces in complex scenarios.
Professional Services
If self-guided recovery fails, consider data recovery specialists. They can perform chip-off analysis or use cleanroom environments to recover data from physically damaged drives. Although costly, professional services offer the highest reliability for critical data.
Post-Recovery Best Practices
- Schedule regular integrity checks using checksum utilities (MD5, SHA256) to detect early file corruption.
- Implement strict access controls and encryption on sensitive directories to mitigate future threats.
- Keep your antivirus and anti-malware definitions up to date for proactive defense.
- Educate users on safe email practices and recognizing phishing attempts to reduce infection risk.
- Consider full-disk encryption for laptops and portable drives to protect data in case of theft or unauthorized access.