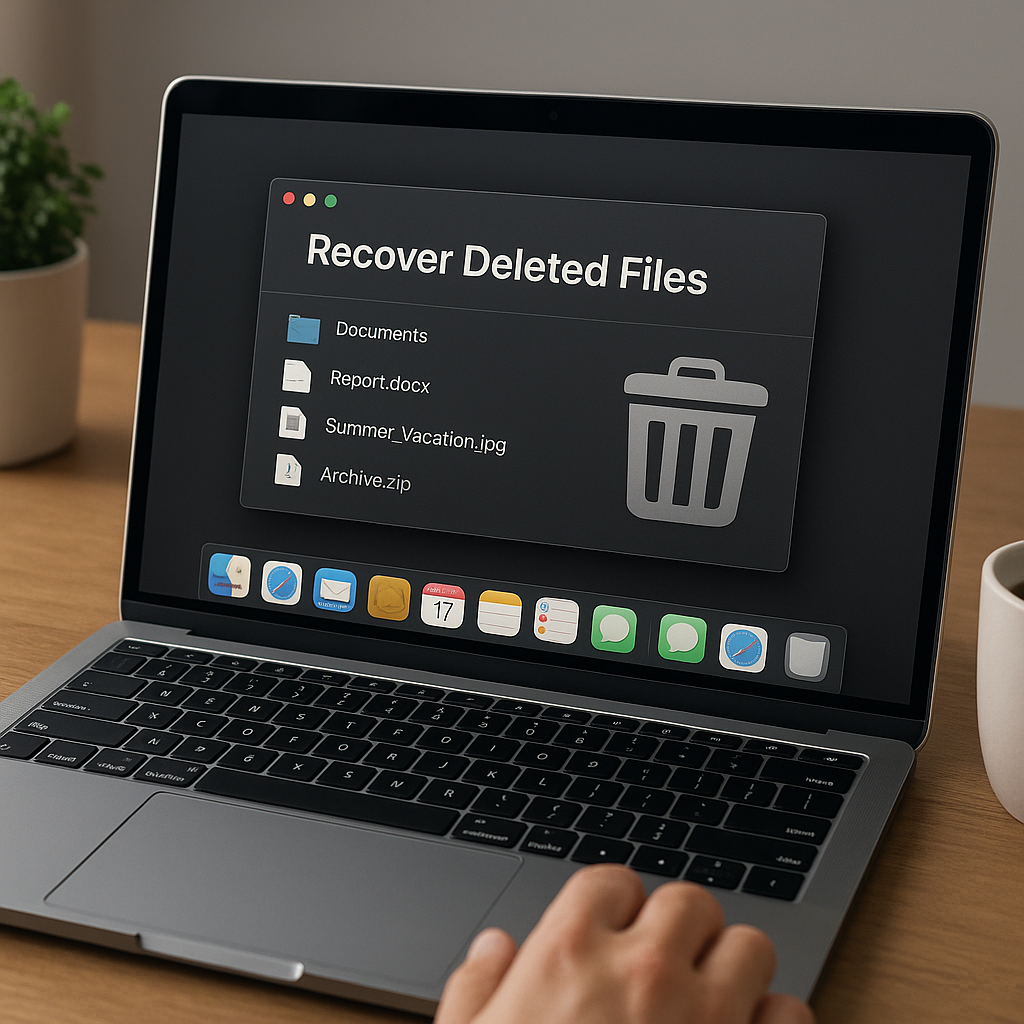
Accidentally emptying the Recycle Bin can feel like losing hours of valuable work, but it doesn’t always spell permanent disaster. With the right approach and powerful recovery software, you can often restore your deleted documents, photos, and videos—even after they vanish from the Bin. This guide will walk you through key concepts, strategies, and practical steps to reclaim your lost files and safeguard your data against future mishaps.
Understanding Data Deletion and File Recovery
When you delete a file and empty the Recycle Bin, the operating system simply marks the storage space as available while leaving the actual content on the drive until it’s overwritten. This behavior hinges on the design of the file system, which relies on metadata (information about the file) to track contents. As long as new data doesn’t overwrite the original sectors, specialized recovery tools can locate and reconstruct the deleted items.
- Logical vs. Physical Deletion: Logical deletion removes references in the file table, whereas physical deletion overwrites the sectors themselves.
- File Signatures: Many recovery utilities scan for unique byte patterns or signatures, enabling them to find fragments of JPEGs, Word documents, or other formats even if metadata is gone.
- Fragmentation: Highly fragmented files may be scattered across the disk, complicating recovery. Advanced tools address this by analyzing contiguous blocks.
Key Strategies for Recovering Deleted Files
Before diving into hands-on recovery, implement precautionary measures to maximize your chances of success. These steps preserve data integrity and avoid further damage:
- Stop Using the Affected Drive: Continuing to write new files to the same volume risks overwriting deleted content. Immediately switch to another disk or boot from an external USB device.
- Create a Disk Image: Use imaging tools to generate a sector-by-sector copy of the entire partition. Working on a clone prevents accidental modification of the original media.
- Work in Read-Only Mode: Launch recovery software in read-only or safe mode whenever possible to avoid unintended writes.
By combining these strategies—halting writes, making an image, and analyzing safely—you establish the optimal environment for deep scan operations and precise file restoration.
Using Dedicated Recovery Tools
Modern recovery applications vary in features, licensing, and performance. Here are core capabilities to look for:
- File Preview: Allows you to inspect recoverable images or documents before committing to a full restore.
- Signature-Based Detection: Recognizes hundreds of file types by signature rather than relying solely on metadata.
- Selective Recovery: Enables you to pick specific files or folders, saving time and disk space.
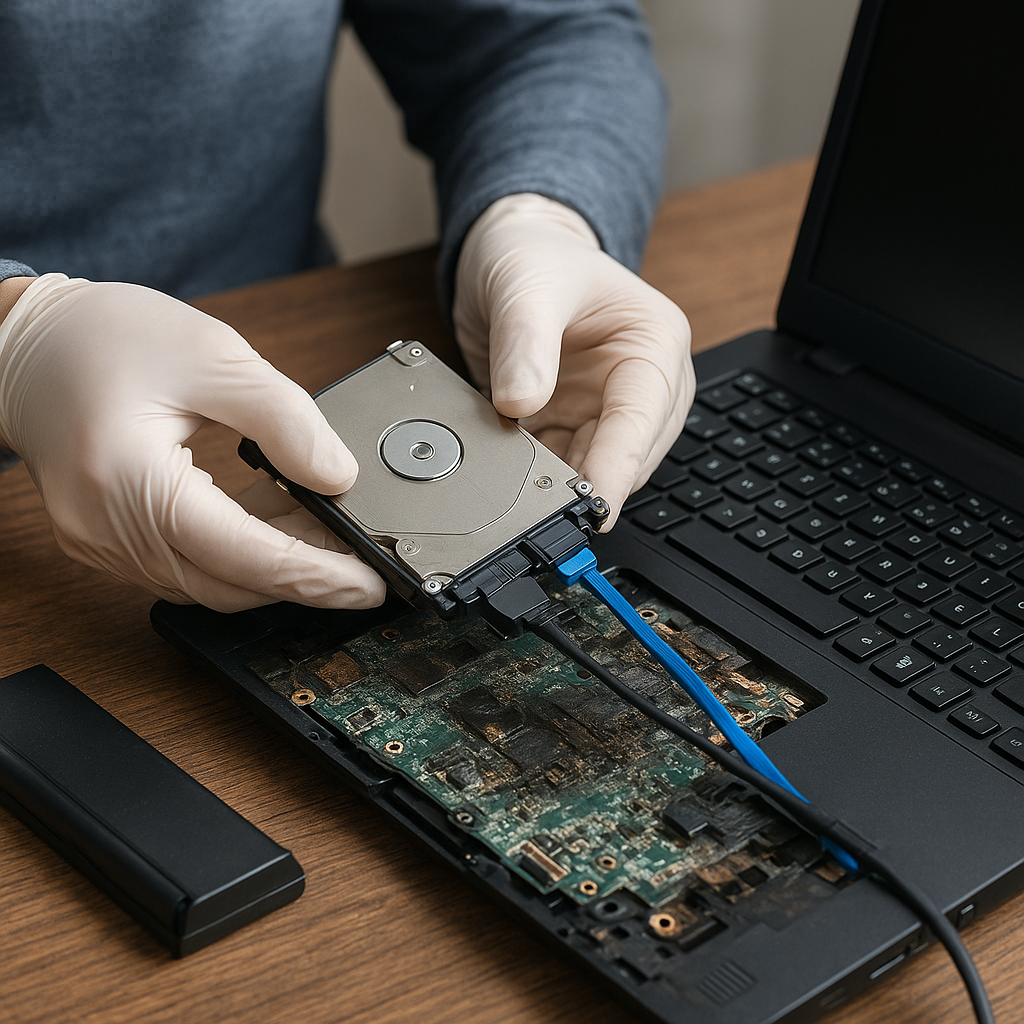
- Bootable Media: Offers a self-contained USB or CD environment to recover files from systems that won’t boot.
Popular options range from free utilities (often limited in recovered file sizes) to commercial suites that bundle disk cloning, RAID recovery, and technical support. Choosing between free and paid editions depends on file importance, budget, and required functionality.
Step-by-Step Guide to Restoring Files from an Emptied Recycle Bin
Follow these practical steps to retrieve deleted items:
1. Prepare Your Environment
- Disconnect any external drives you’re not scanning to prevent cross-drive writes.
- Download and install your chosen recovery tool on a separate partition or external USB.
2. Create a Disk Image
- Launch the imaging module of the recovery suite.
- Select the affected partition as the source and specify a safe destination (ideally on a different physical drive).
- Wait for the imaging process to complete; large disks may take hours.
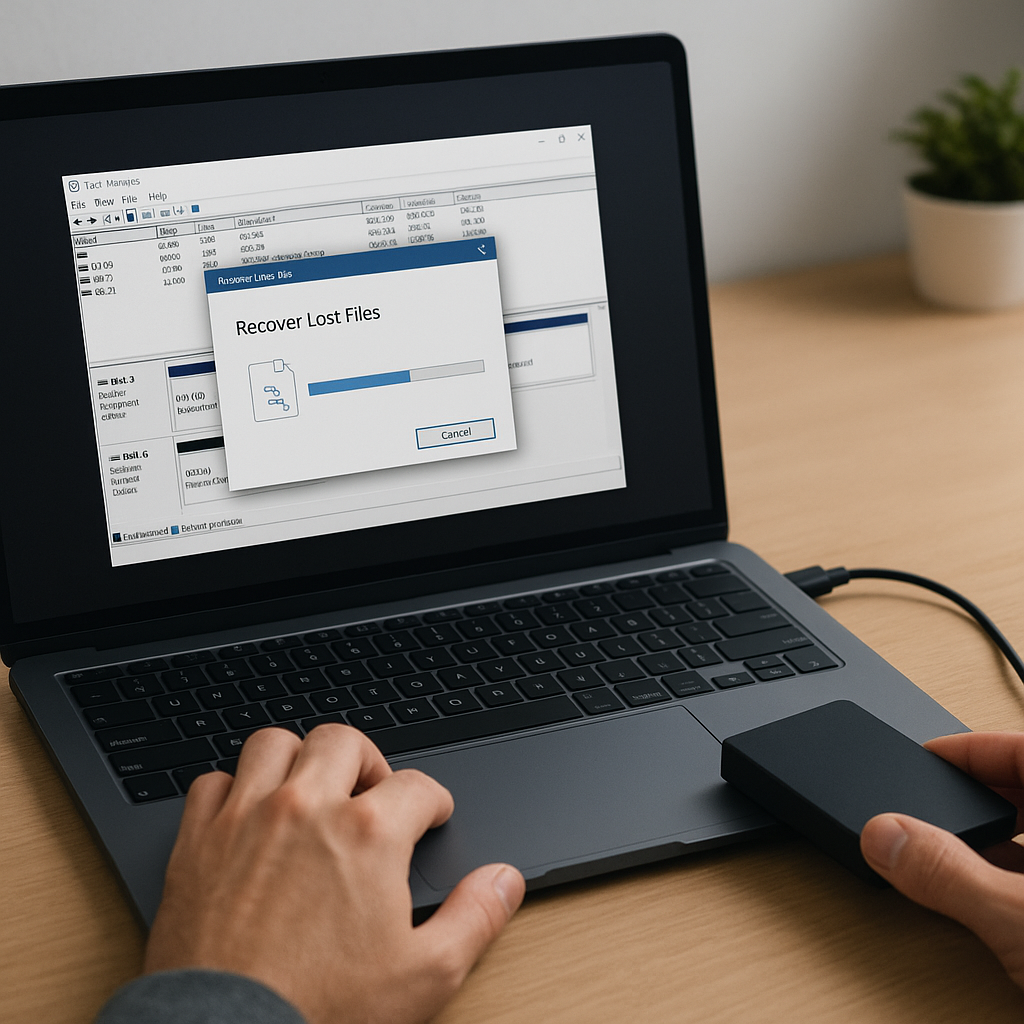
3. Perform a Deep Scan
- Switch the tool to scan the disk image rather than the live volume.
- Choose signature-based or advanced scan mode for maximum file detection.
- Monitor progress; modern algorithms can sift through gigabytes of data efficiently.
4. Preview and Recover
- Once scanning finishes, browse the recovered file tree or use keyword filters.
- Preview images, text documents, or spreadsheets to verify integrity.
- Select desired items and initiate the recovery process, targeting a new storage location.
By isolating the disk image and employing a deep scan, you minimize risks and optimize the chance of retrieving intact files.
Evaluating Free vs. Commercial Recovery Software
Not all recovery tools deliver equal results. Consider these factors:
- Recovery Limits: Free versions often cap file sizes or total data recovered.
- Supported File Types: Verify that your critical formats (RAW photos, proprietary documents) are recognized.
- Scanning Speed: Commercial products may leverage multi-threading, offering faster results on modern CPUs.
- Technical Support: Paid licenses often include direct access to technicians for complex cases.
For occasional small-scale recoveries, free utilities can suffice. However, when dealing with sensitive or business-critical data, investing in a professional solution with 24/7 support and advanced modules pays dividends.
Best Practices to Prevent Future Data Loss
After successfully restoring your files, implement robust measures to reduce the risk of permanent deletion:
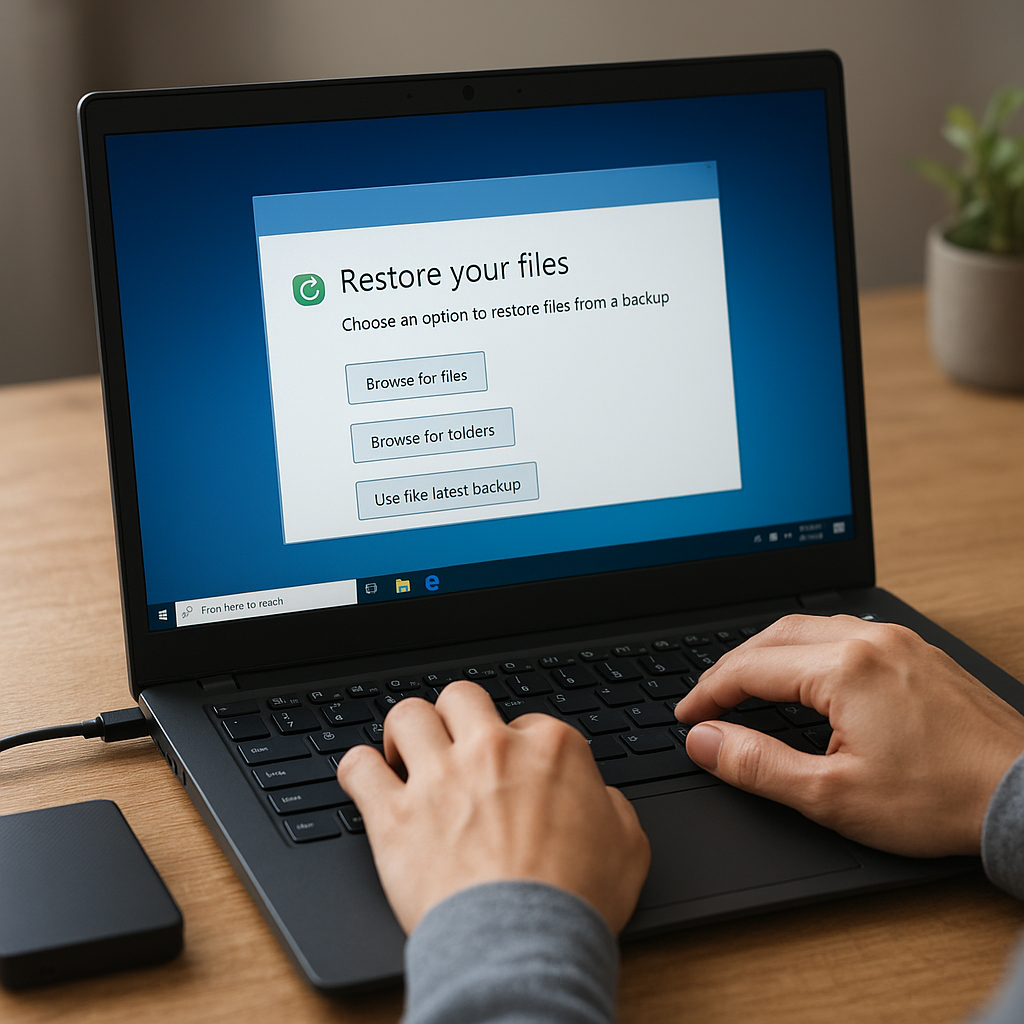
- Regular Backups: Automate backups to external drives or cloud services on a daily or weekly schedule.
- Version Control: Use systems like Git or OneDrive version history to roll back unintended edits and deletions.
- Disk Management: Periodically defragment HDDs or optimize SSDs to maintain data integrity and performance.
- Redundancy: Employ the 3-2-1 rule—keep three copies of your data on two different media, with one copy offsite.
- User Education: Train all users on safe deletion habits and the importance of not bypassing the Recycle Bin unless necessary.
By integrating automated backups, versioning, and clear policies, you’ll cultivate a resilient data environment where accidental empties become mere inconveniences rather than crises.
